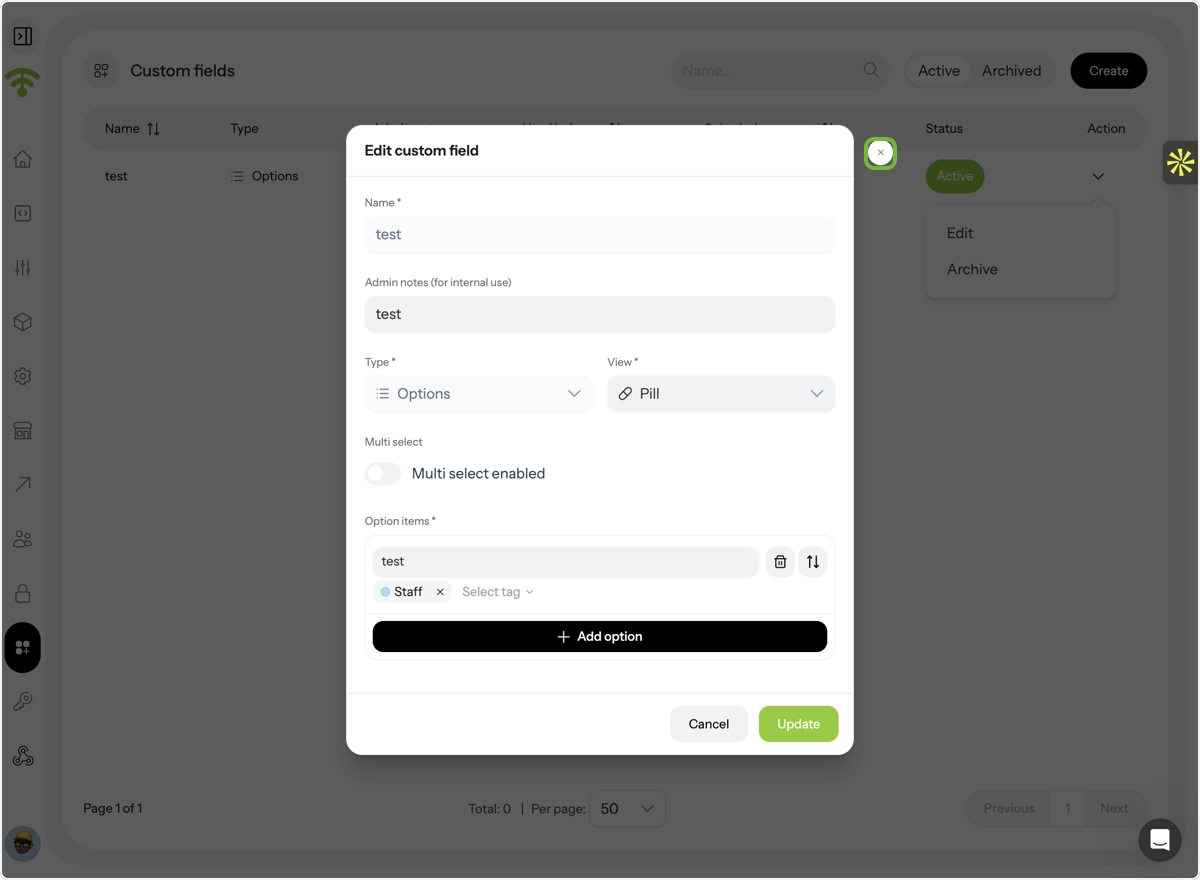
Custom fields allow you to collect additional guest information during Wi-Fi login, helping you capture more meaningful data for marketing and customer insights. In this guide, you will learn how to access the captive portal settings, create new custom fields, configure field types such as text, date, or selectable options, and manage tags and submissions within the dashboard.
Affinect
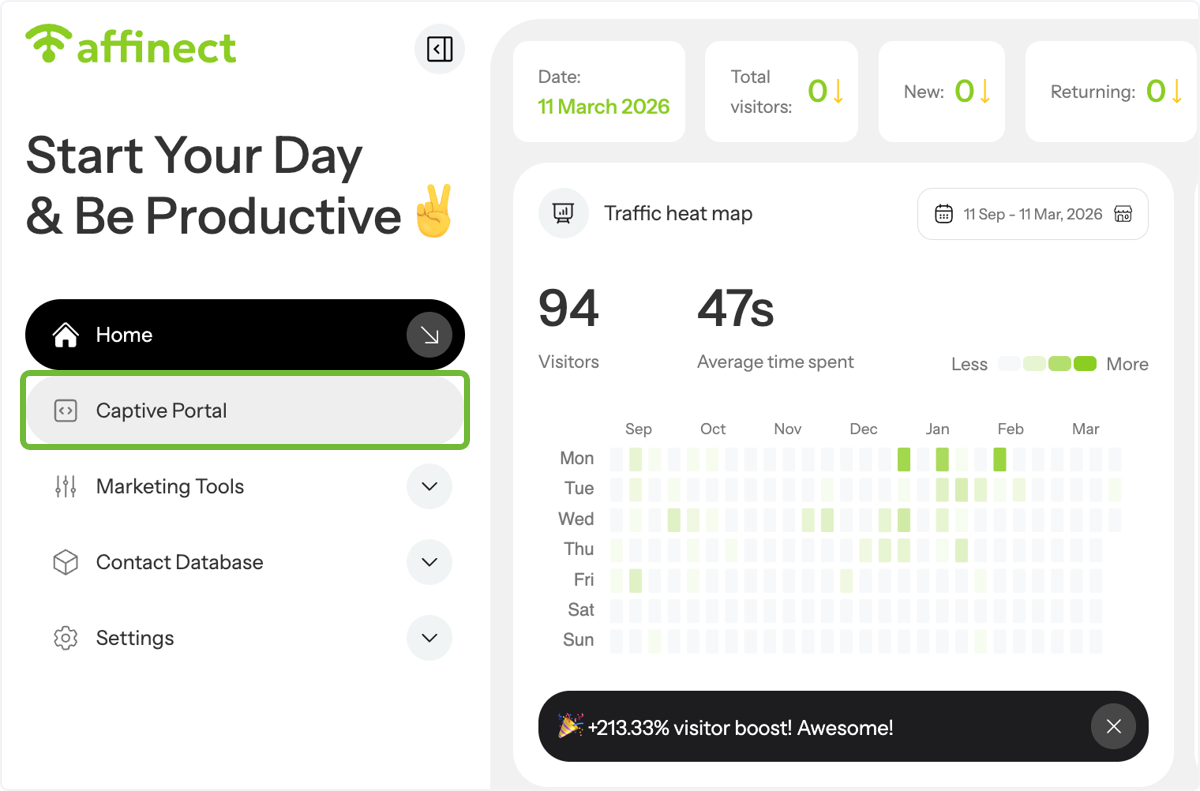
Open Captive Portal
In the left-hand side menu, click on Captive Portal to access all your splash pages and Wi-Fi login settings.
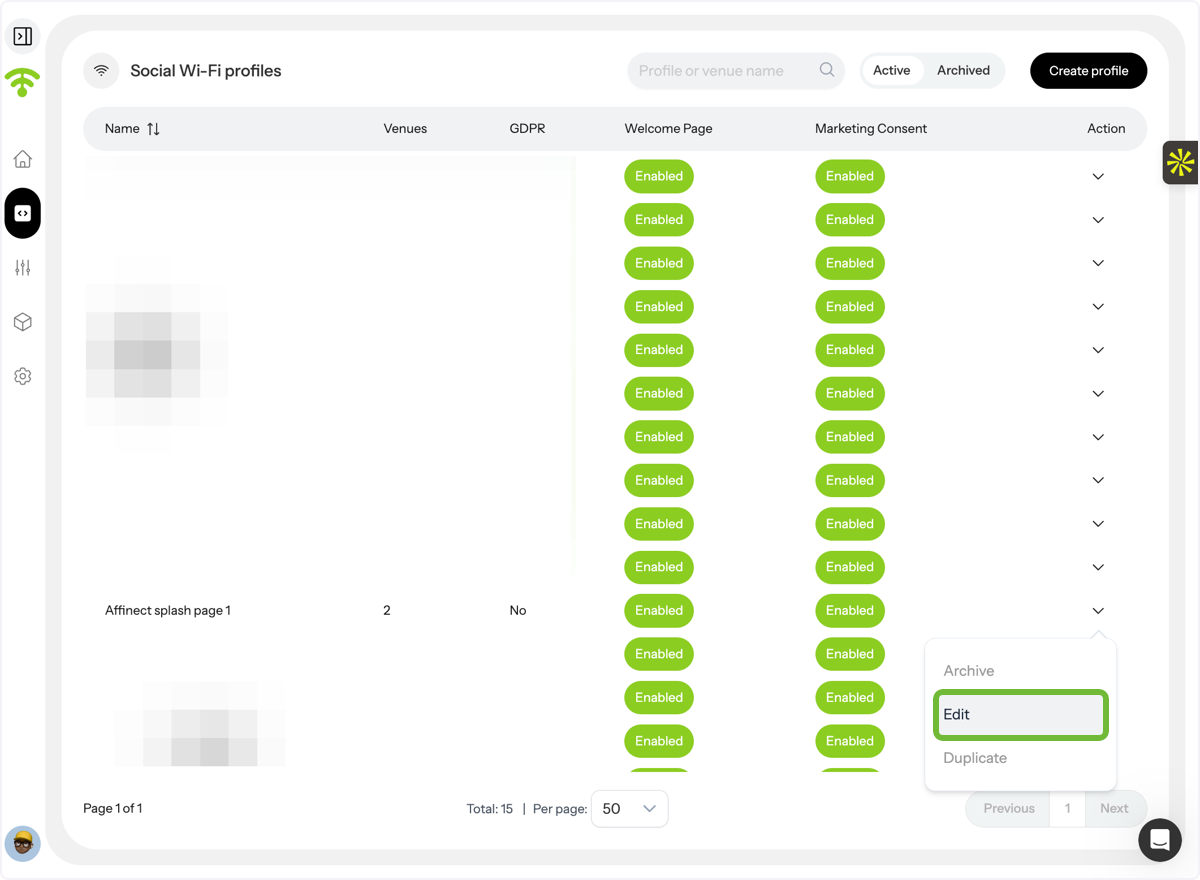
Select the Splash Page to Edit
Find the splash page you want to modify. Under the Actions dropdown next to it, click Edit.
Access Splash Page Settings
The selected splash page and its configuration settings will now appear.
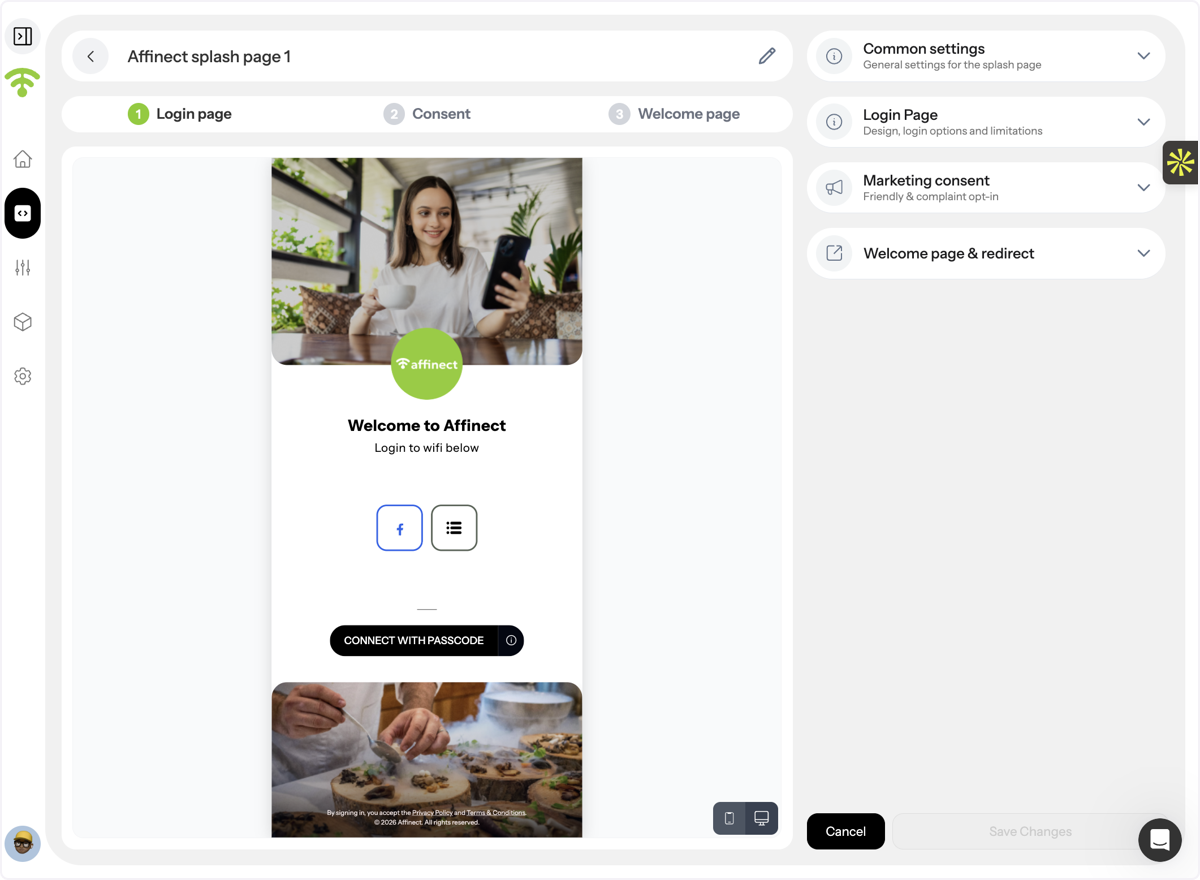
Click on Login Page from the right-hand side
From the panel on the right-hand side, click Login Page to access login-related settings.
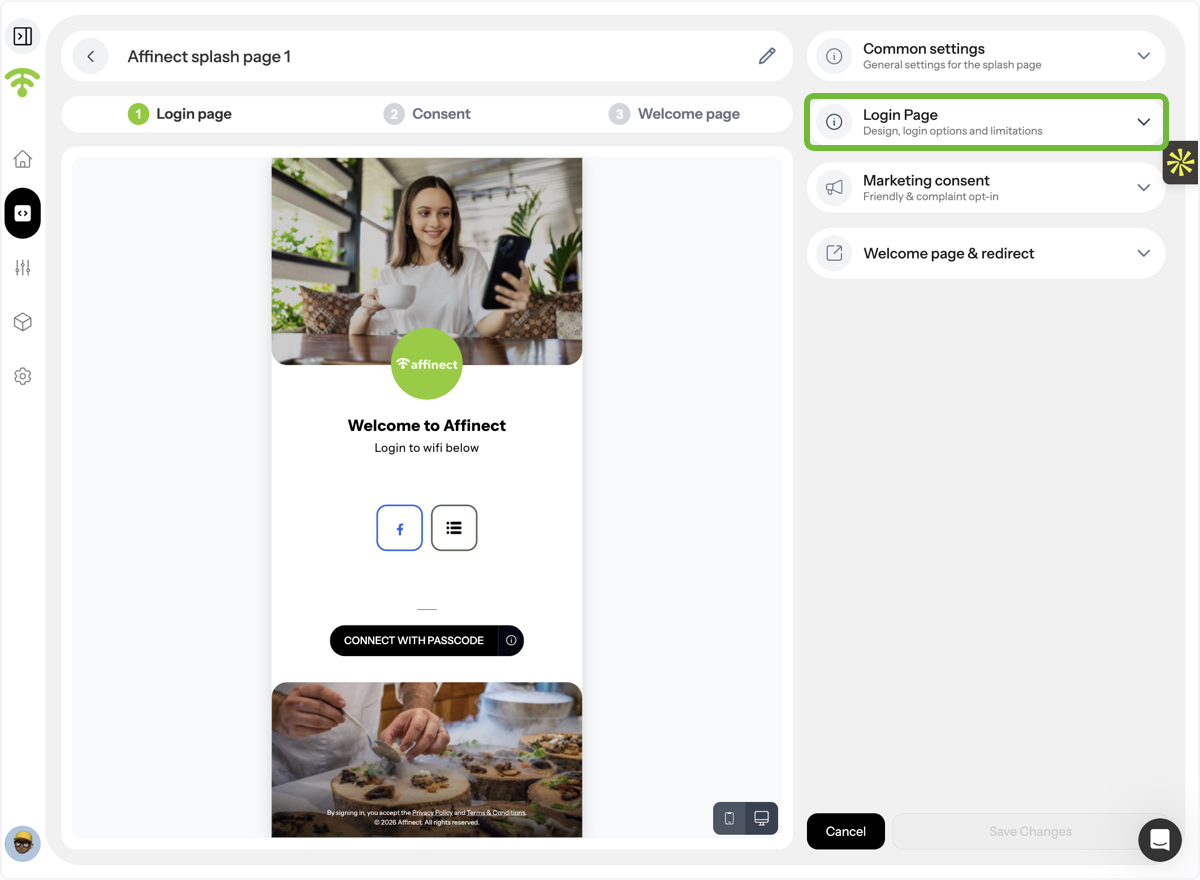
Open Wi-Fi Login Form Settings
Click on Wi-Fi Login Form to view and manage the form fields used for guest login.
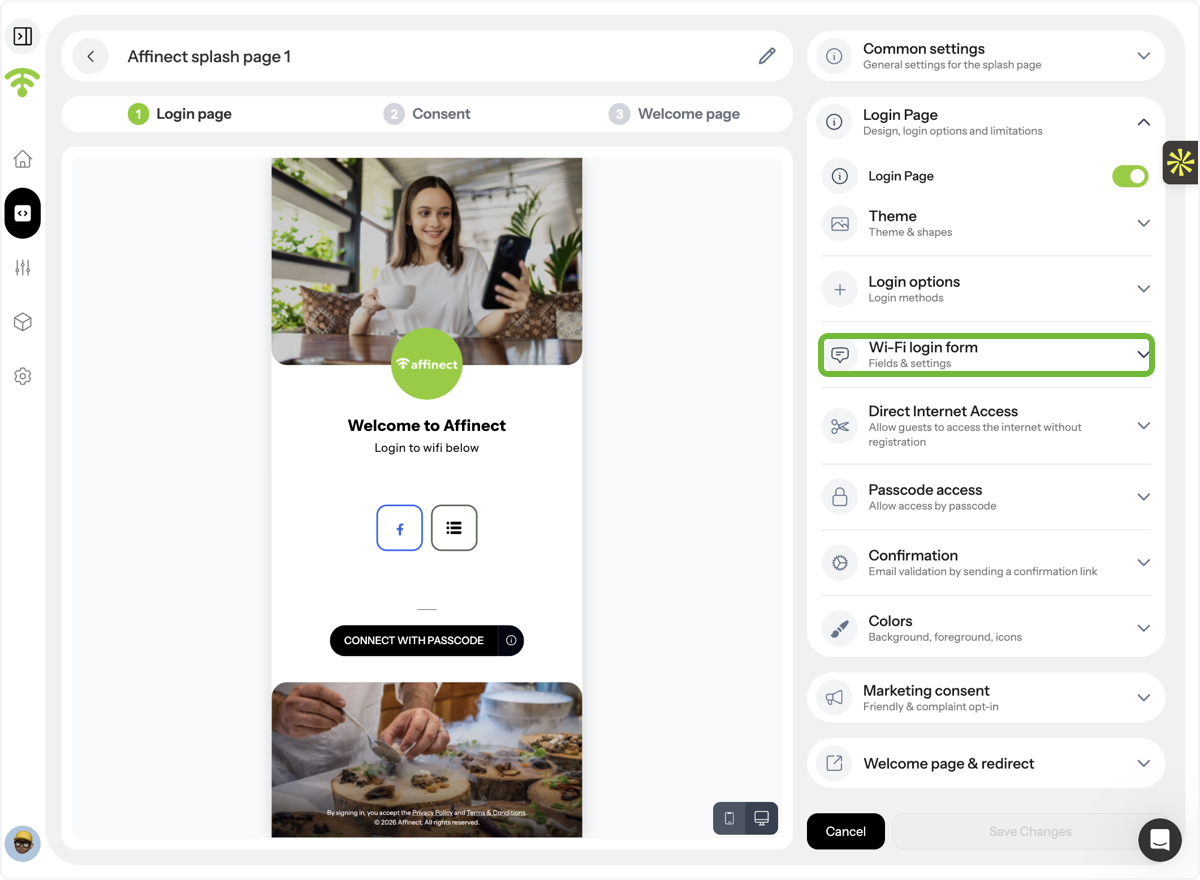
View Existing Form Fields
You will see the list of currently active form fields that guests fill out during Wi-Fi login.
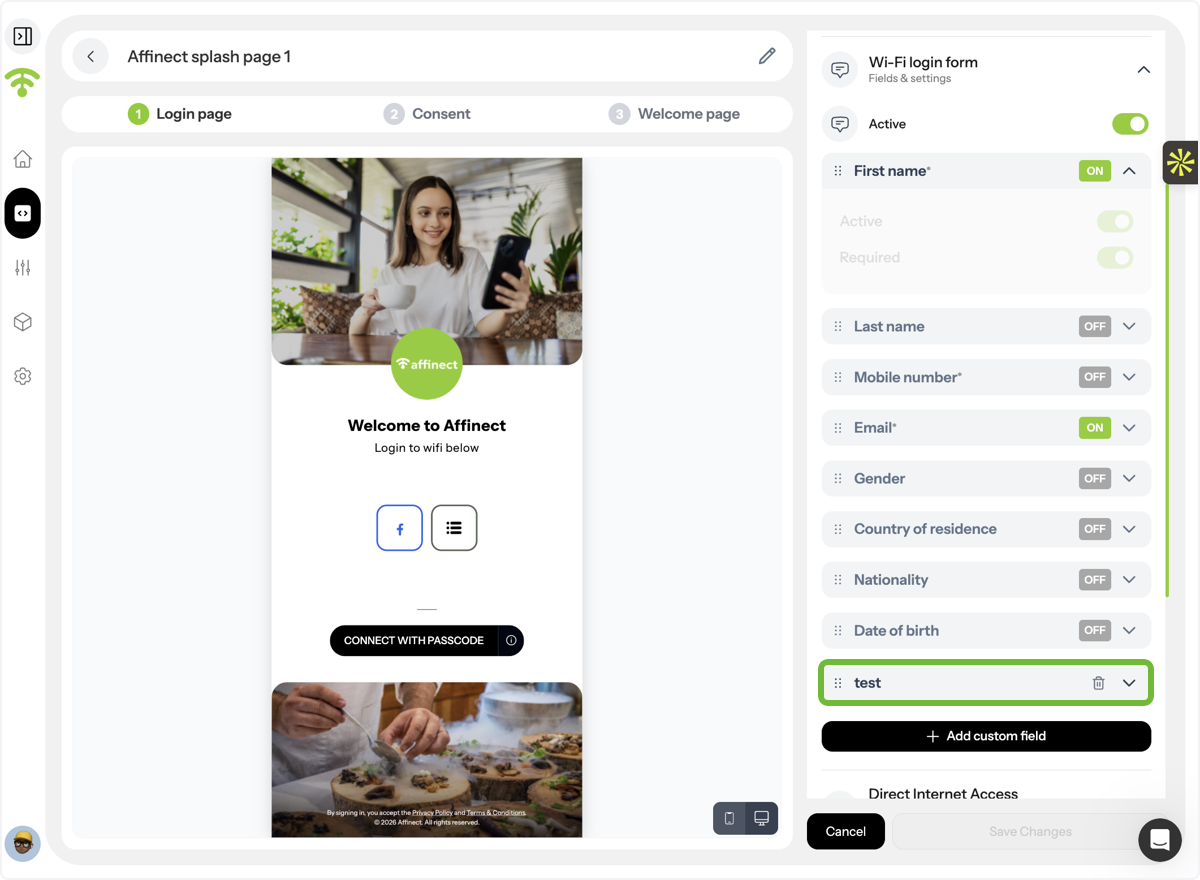
Add a Custom Field
Click Add Custom Field to create a new field and collect additional guest data.
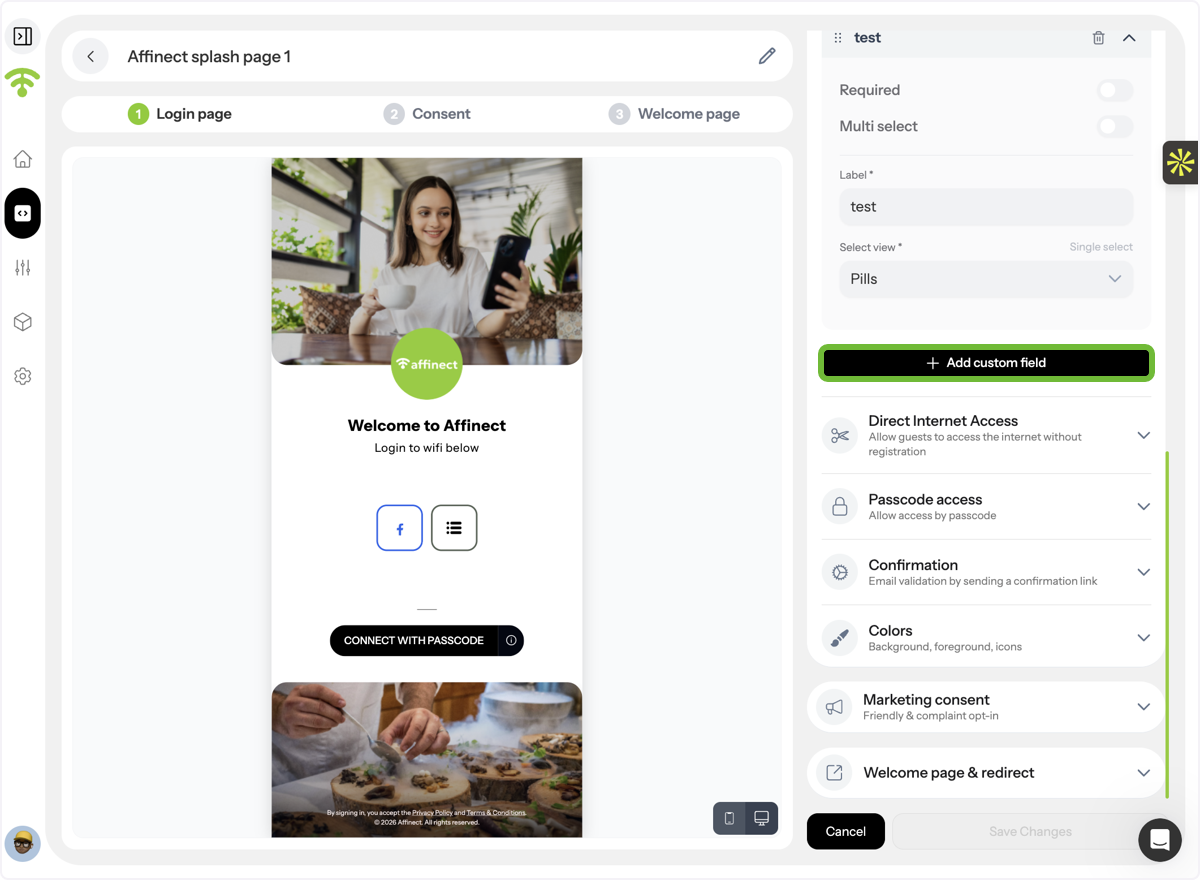
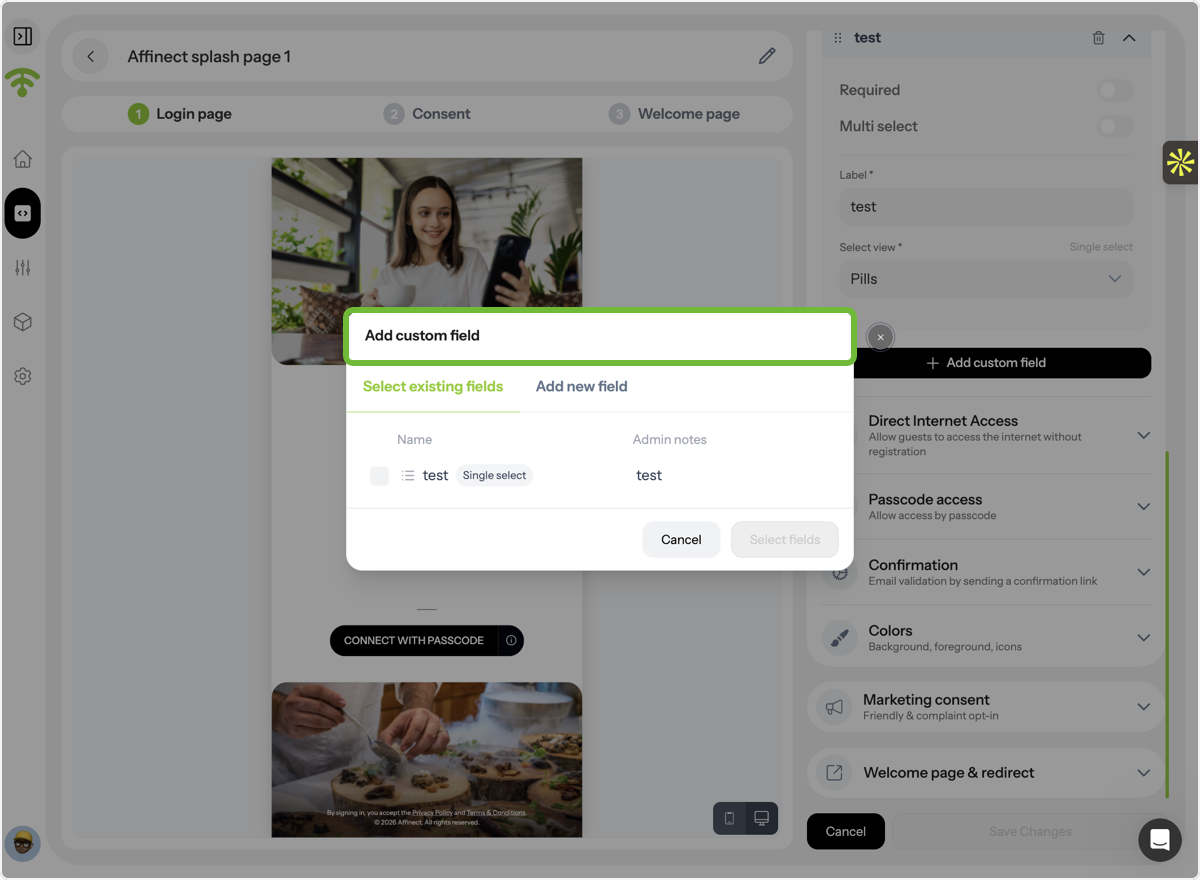
Choose Existing or Create New Field
You can either select a field from existing options or create a completely new one.
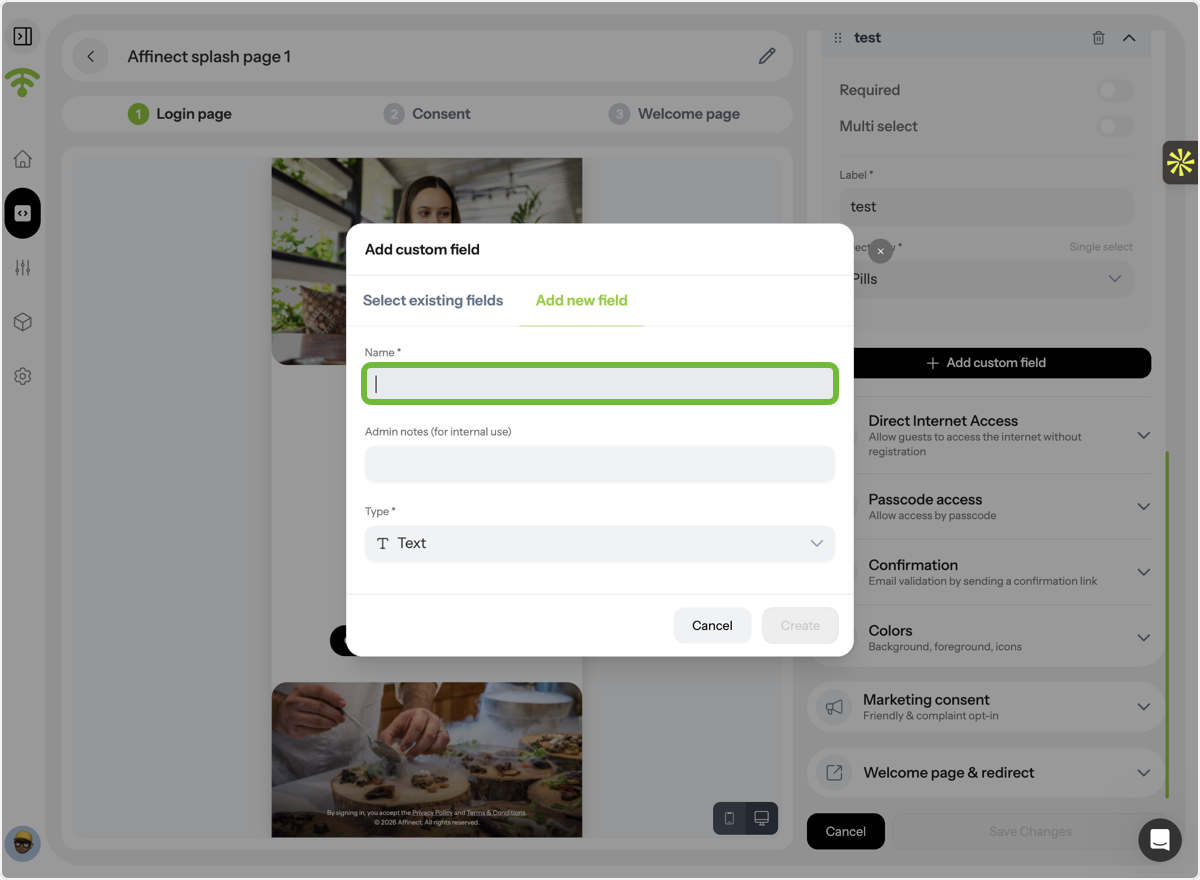
Configure the Field Details
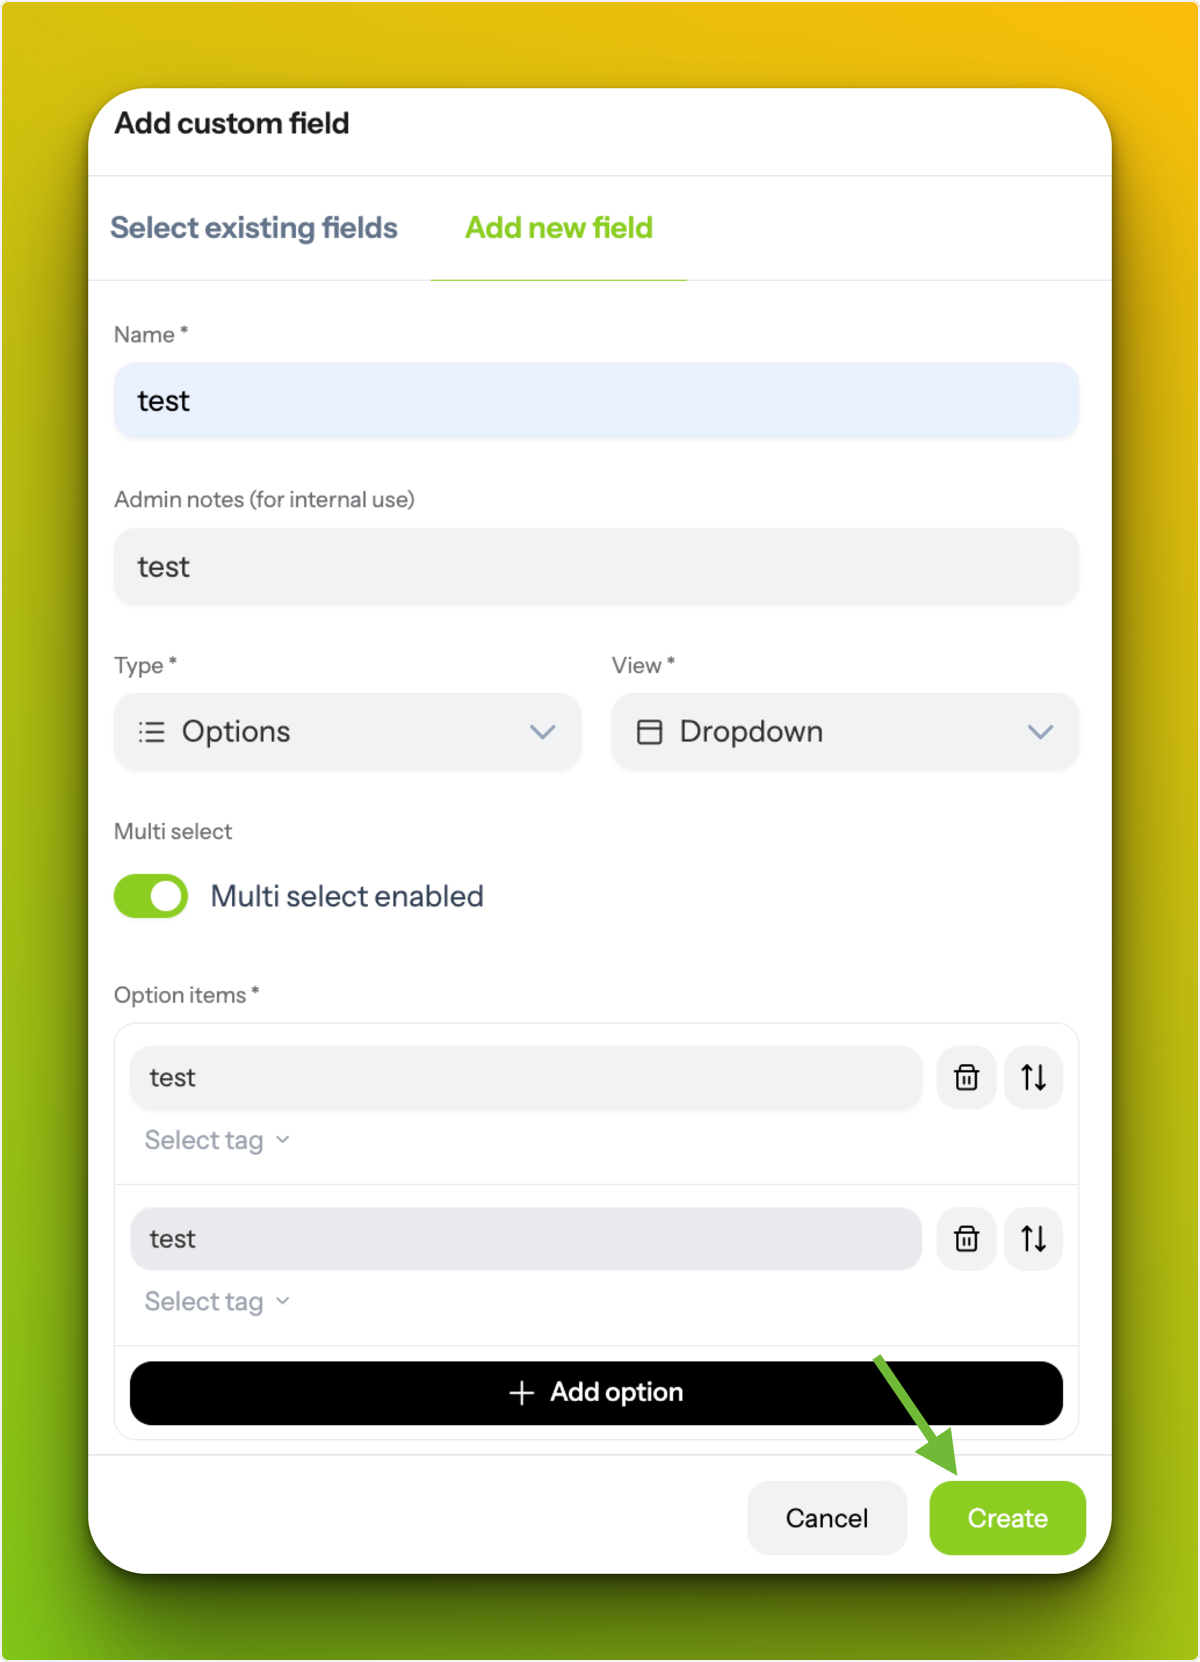
When creating a new field, enter the Field Name, add Admin Notes if needed, and choose the Field Type.
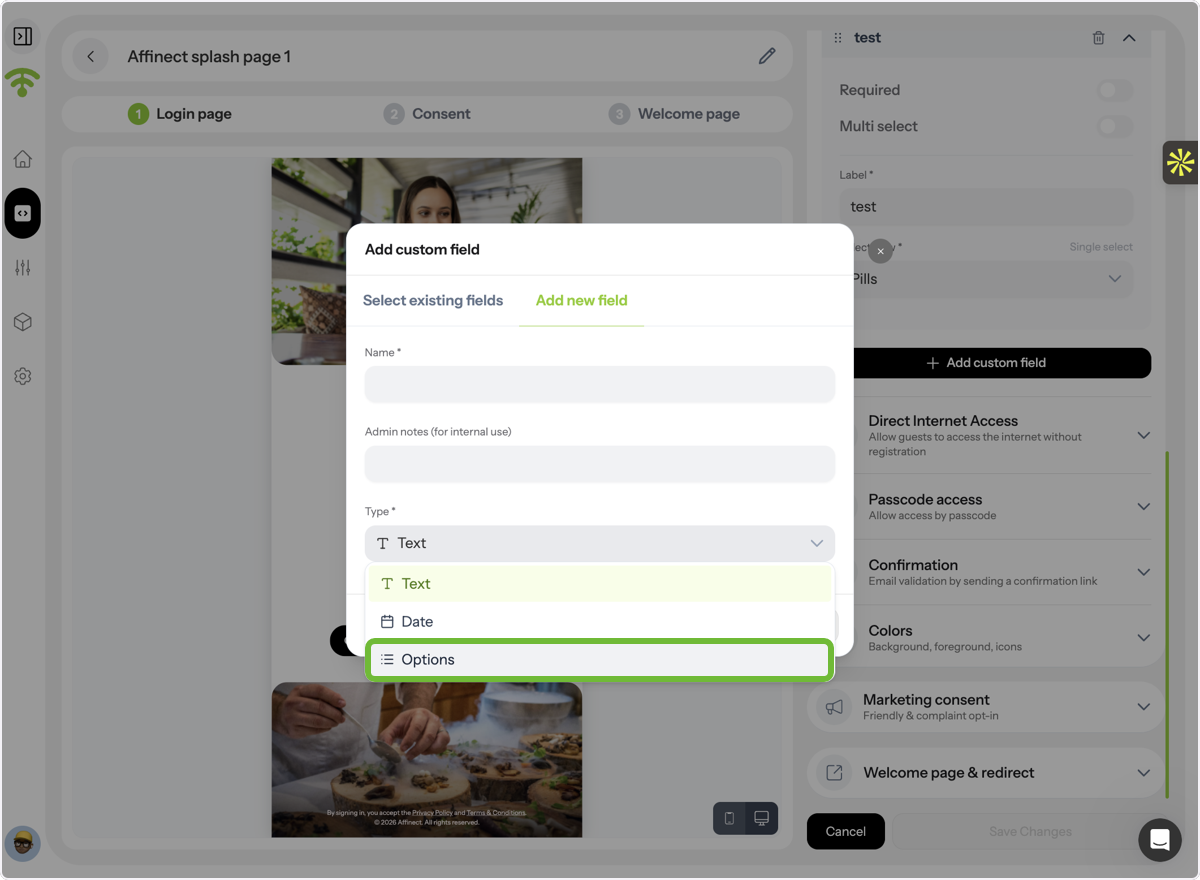
Select a Field Type
Field types determine how guests interact with the field. Options include Text, Date, or Options.
Add Field Inputs
If you choose Text или Date, the field will accept manual input from users.
If you choose Options, you can add predefined selections.
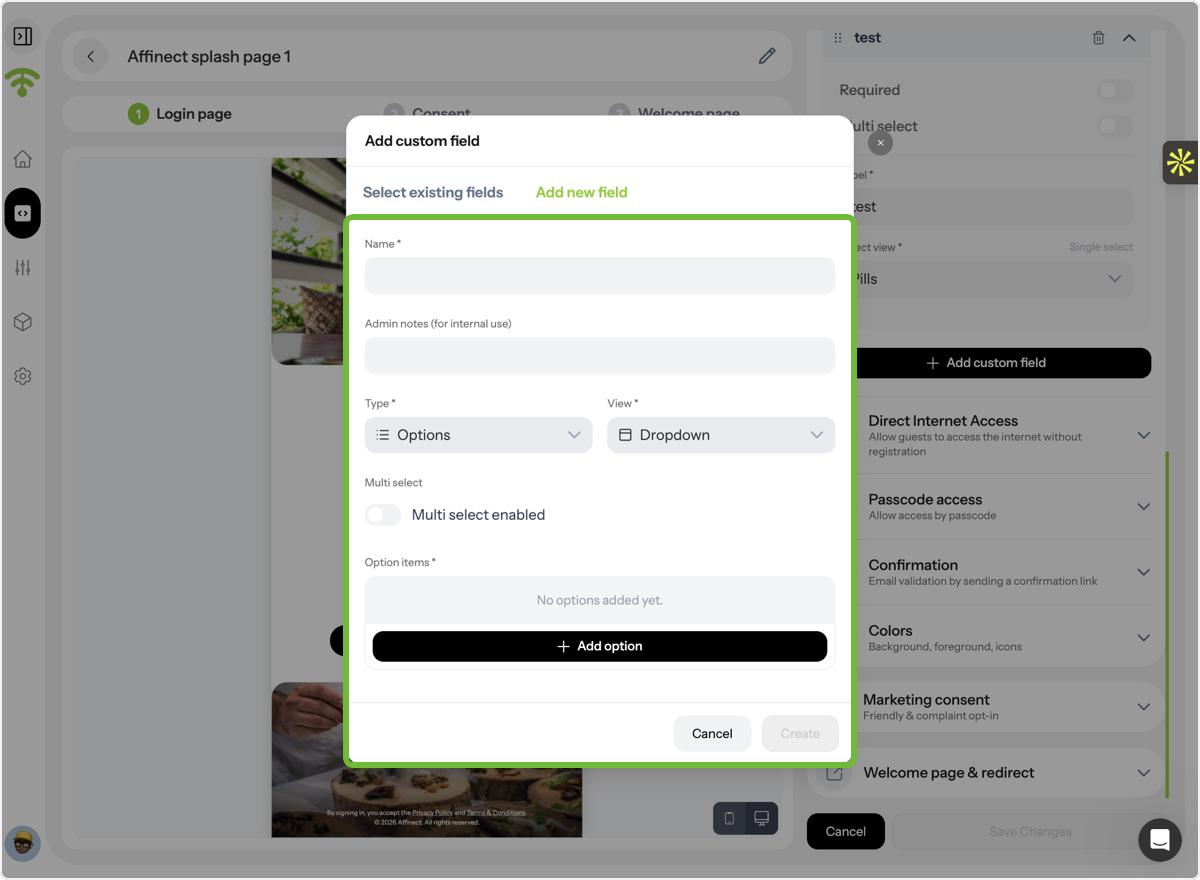
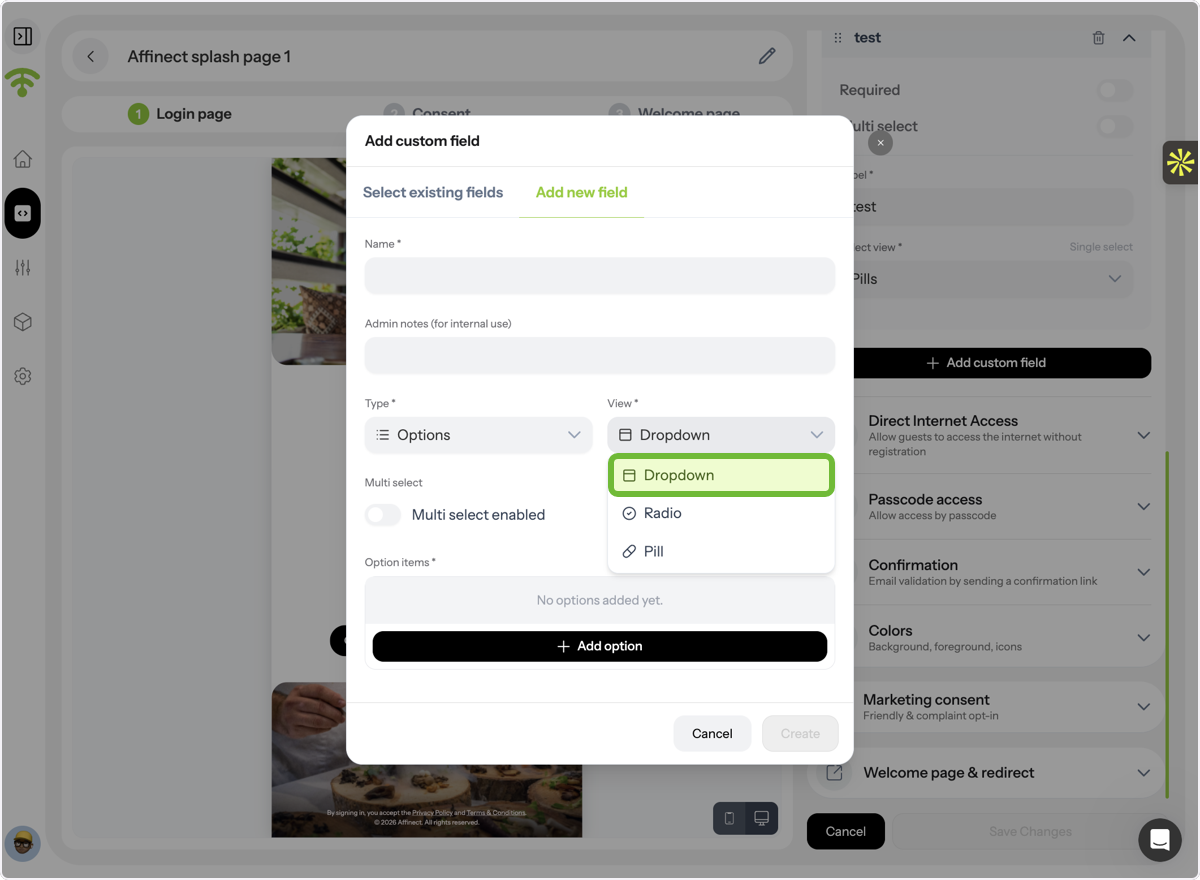
Choose How Options Are Displayed
For option fields, select how the options appear to users: Dropdown, Radio Buttons, or Pills.
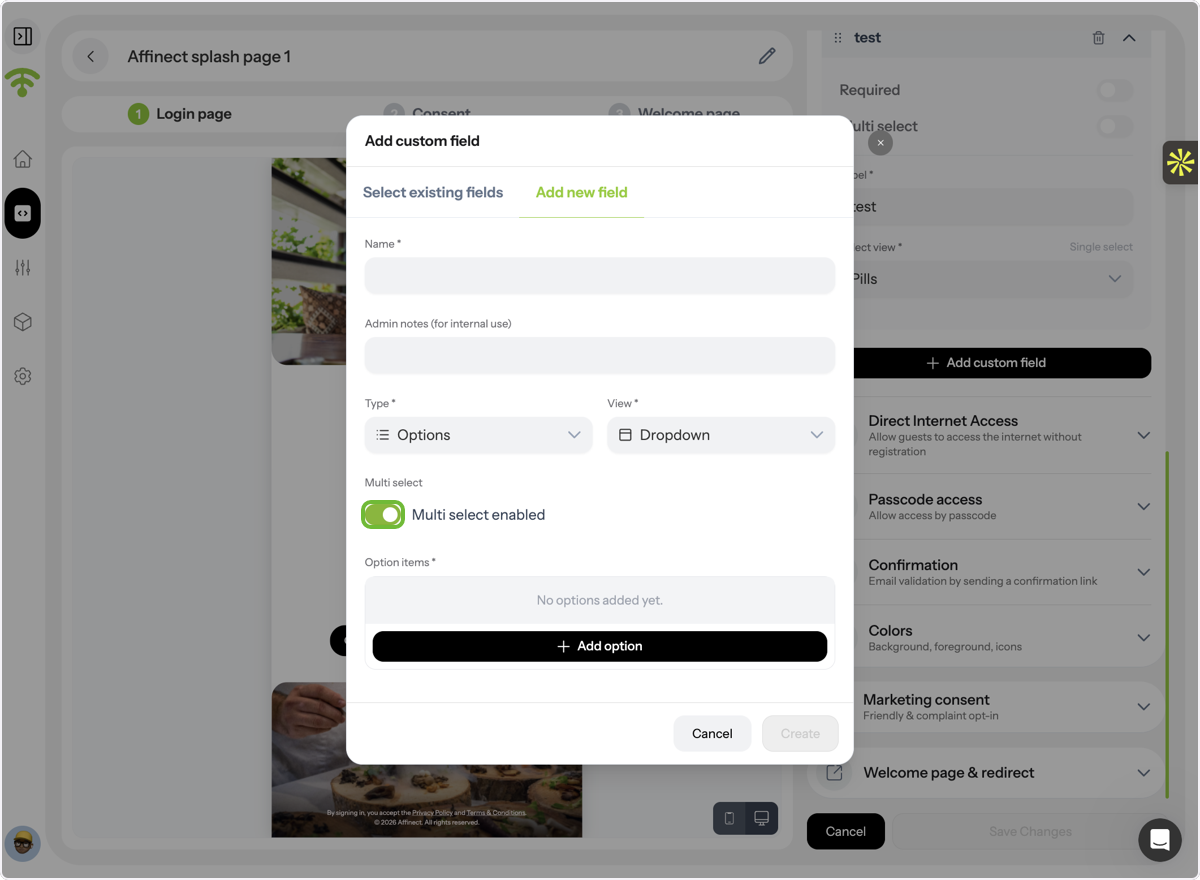
Add Multiple Options
You can add several selectable options and even allow users to choose more than one option if needed.
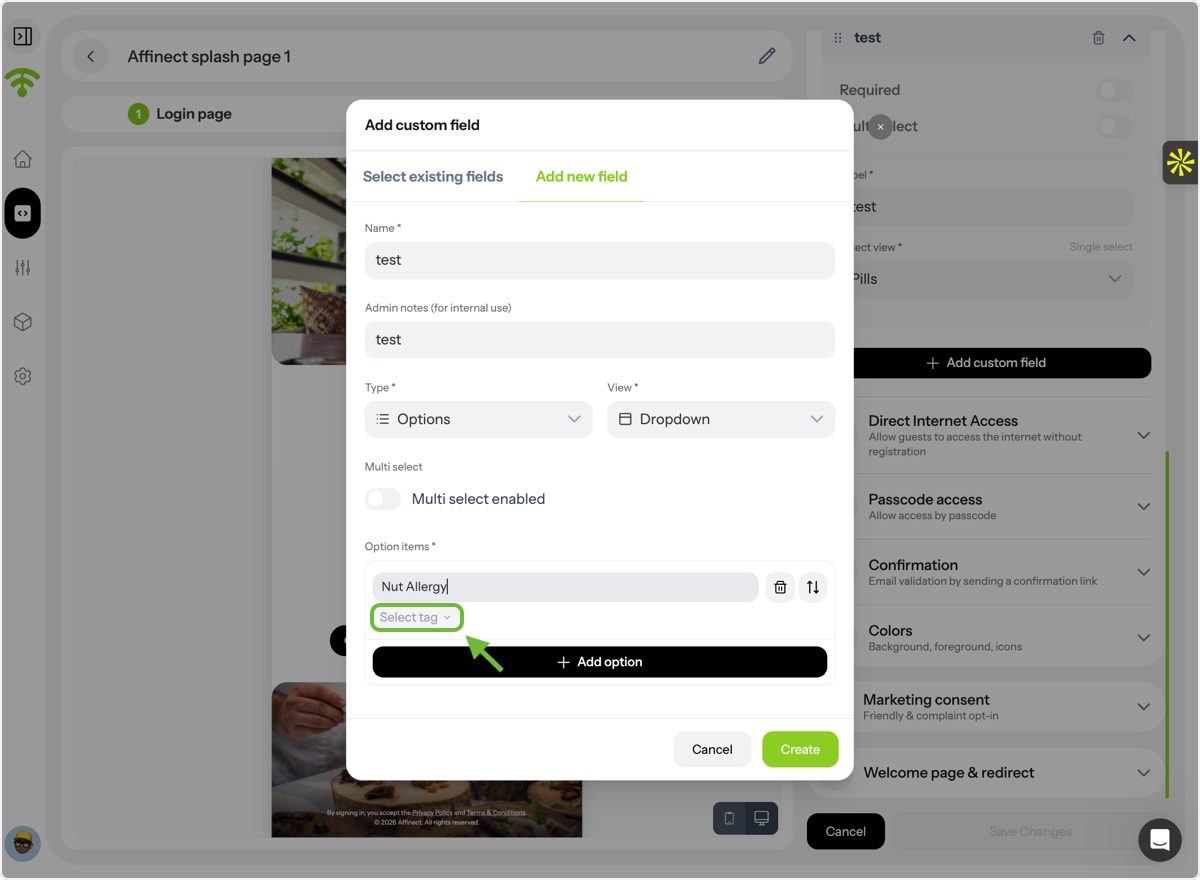
Assign Tags to Options
Each option can be linked to a specific tag to help categorize and segment guest data.
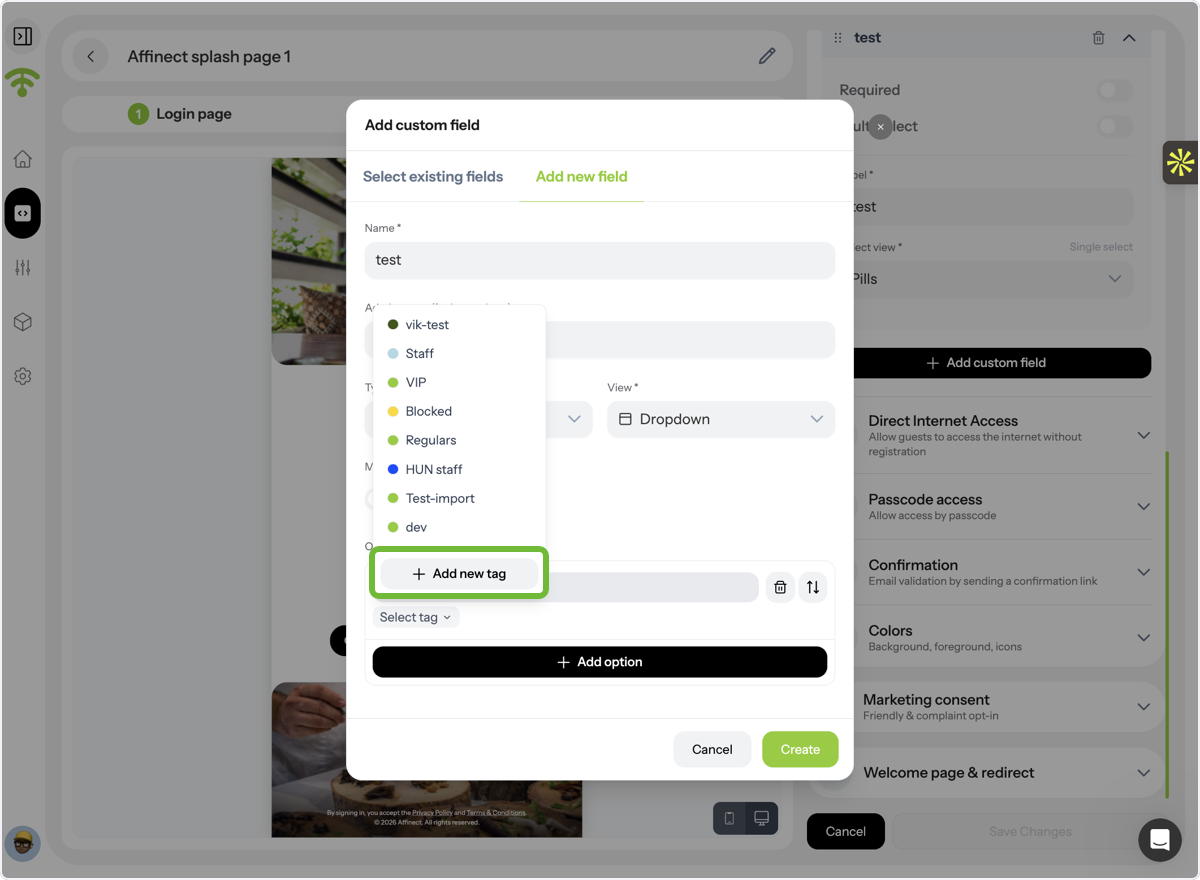
Select or Create Tags
You can either choose an existing tag or create a new tag for the option.
Create the Custom Field
Click Create to add the custom field to your Wi-Fi login form.
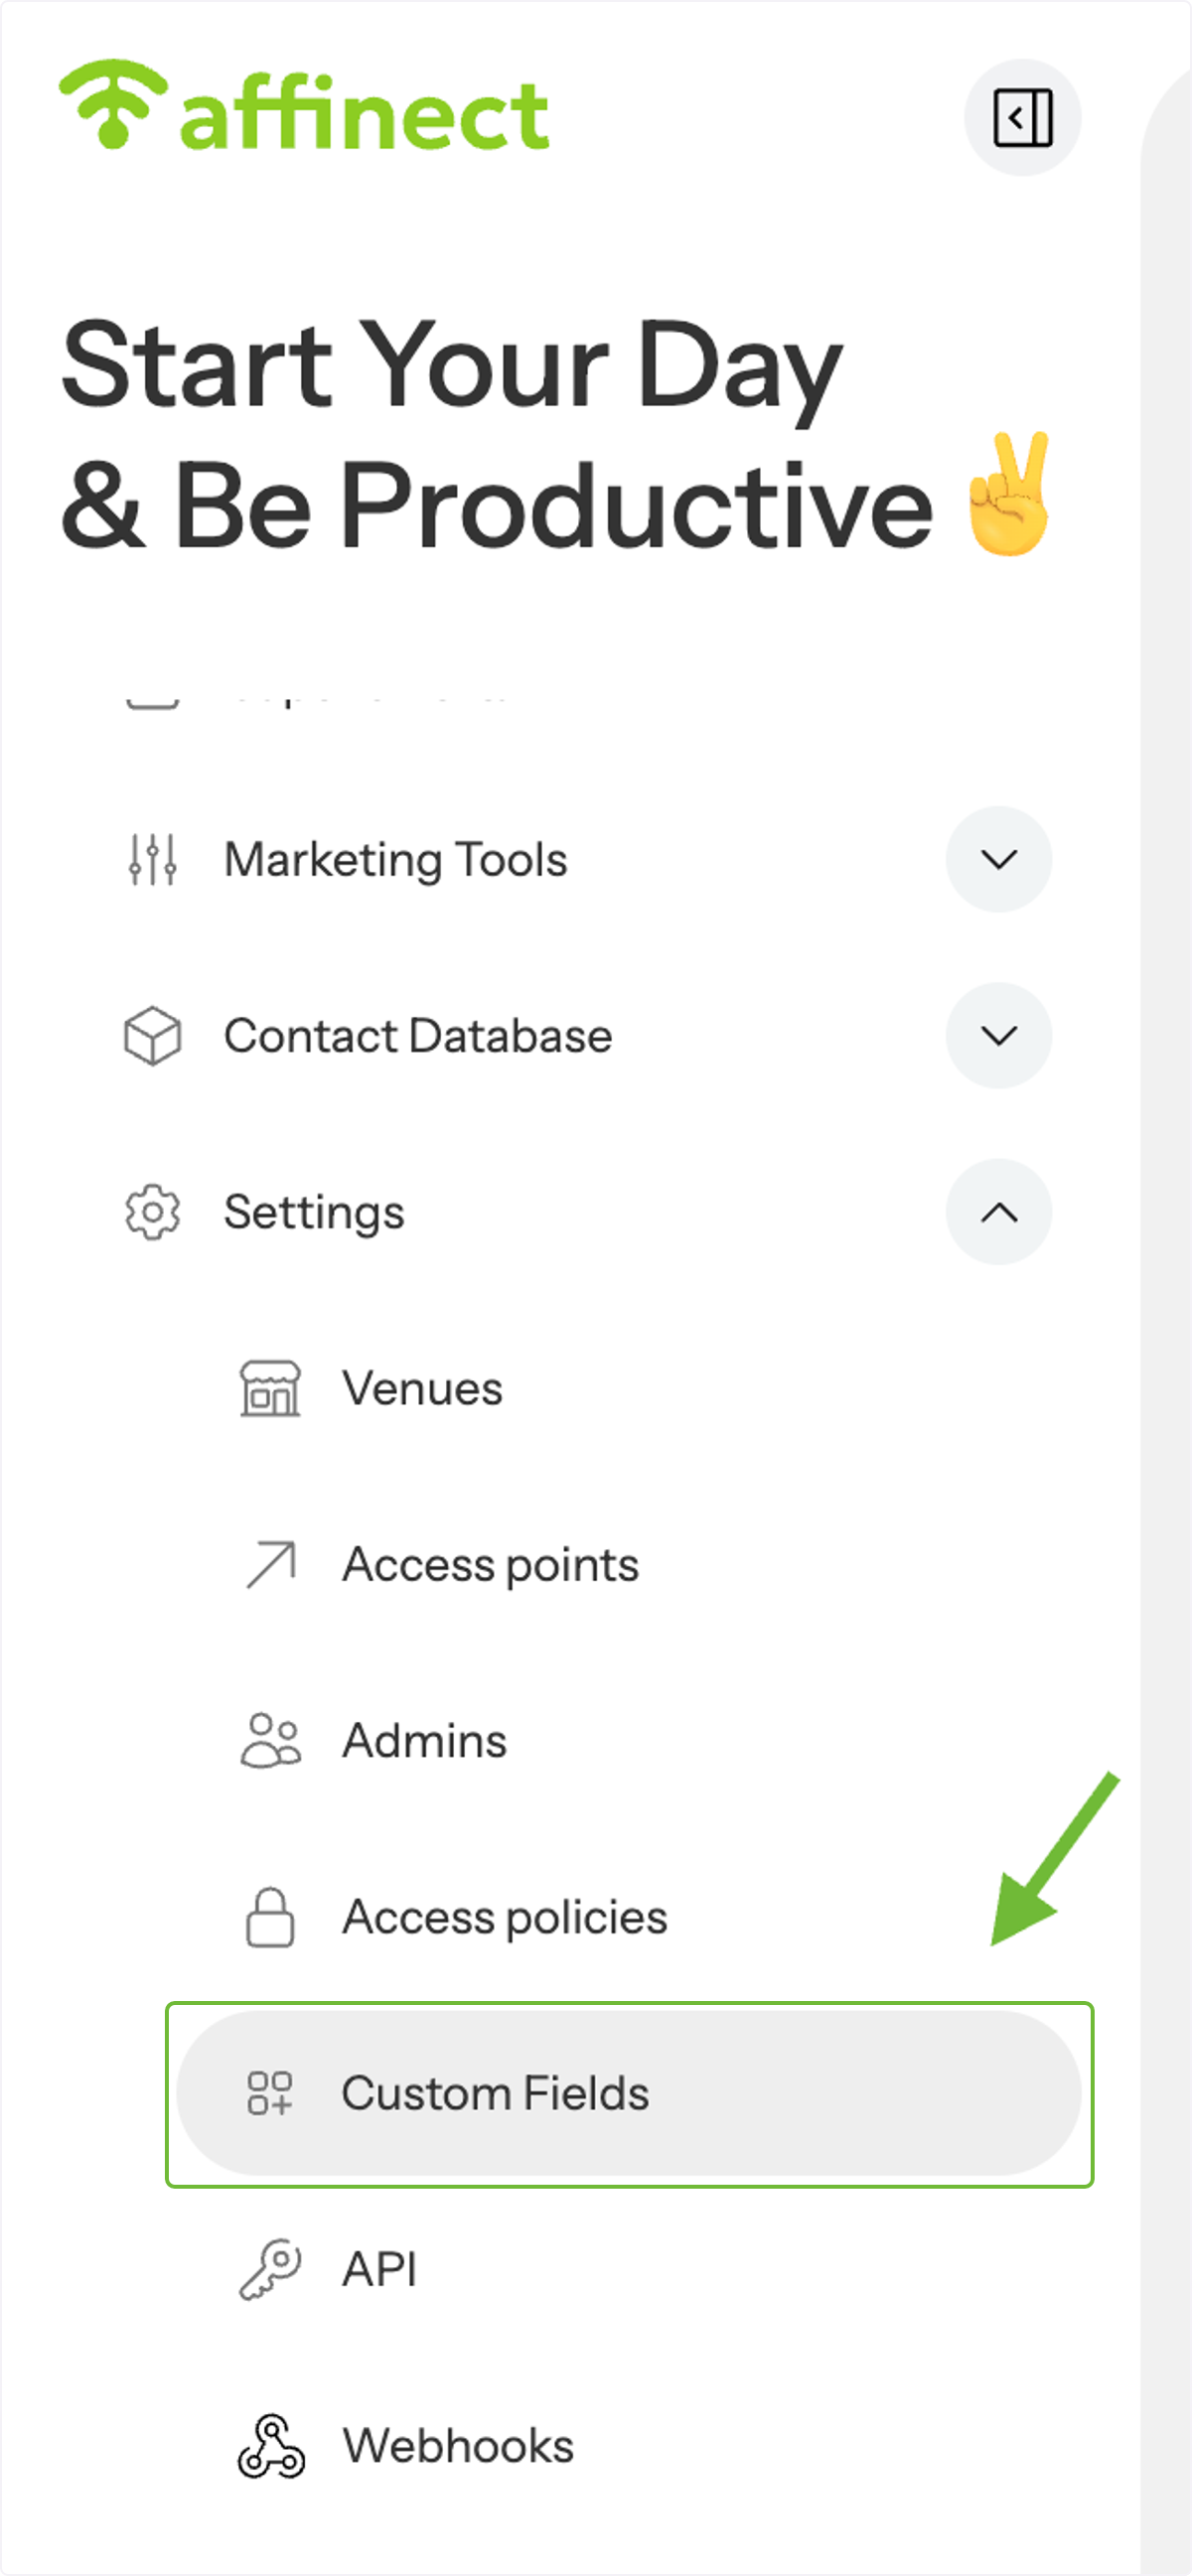
Access Custom Fields from the Dashboard
Custom fields can also be managed directly from the Dashboard Home.
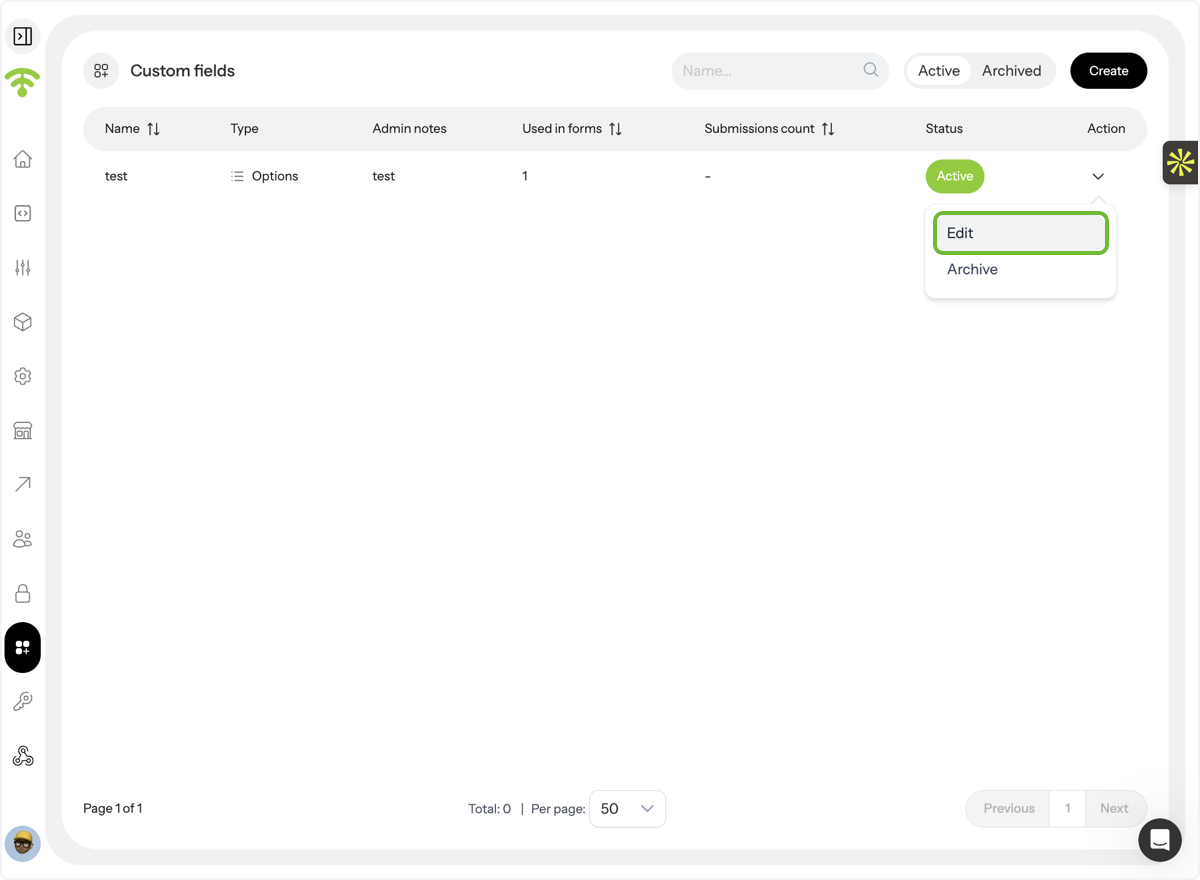
Review and Manage Field Details
Here you can view details such as form type, admin notesи submission counts. To make changes, click Edit under the Actions dropdown.
Finish and Close
After updating or reviewing your fields, simply close the settings. Tada! You now know how to add and manage custom fields for your Wi-Fi login form.