Learn how to manage your access points in Affinect to ensure optimal network performance and guest experience across your venues.
Editing an Access Point- Affinect
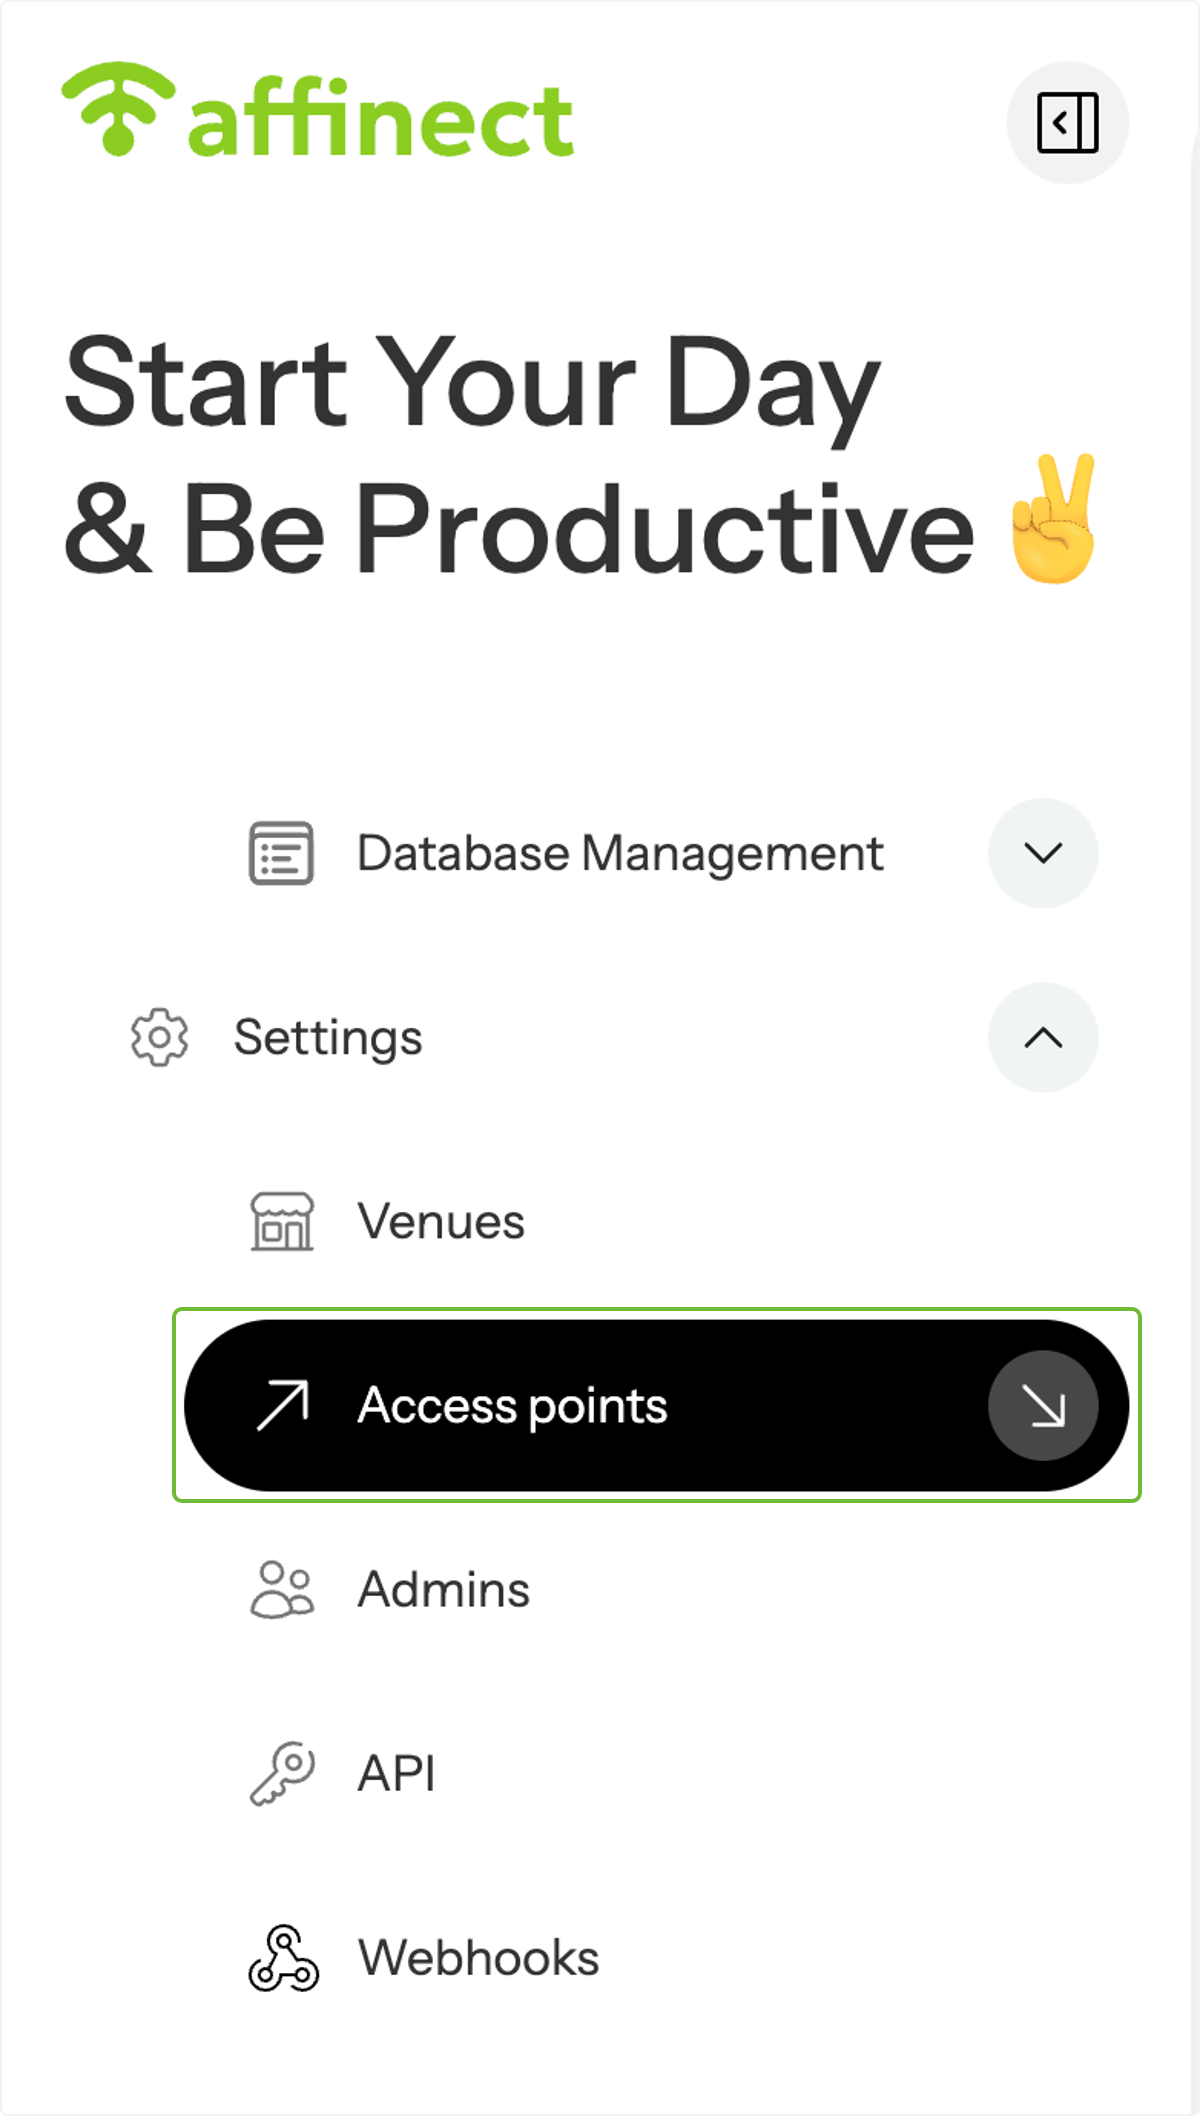
Click 'Settings' on the left-hand side of the dashboard and select 'Access points' from the drop-down menu.
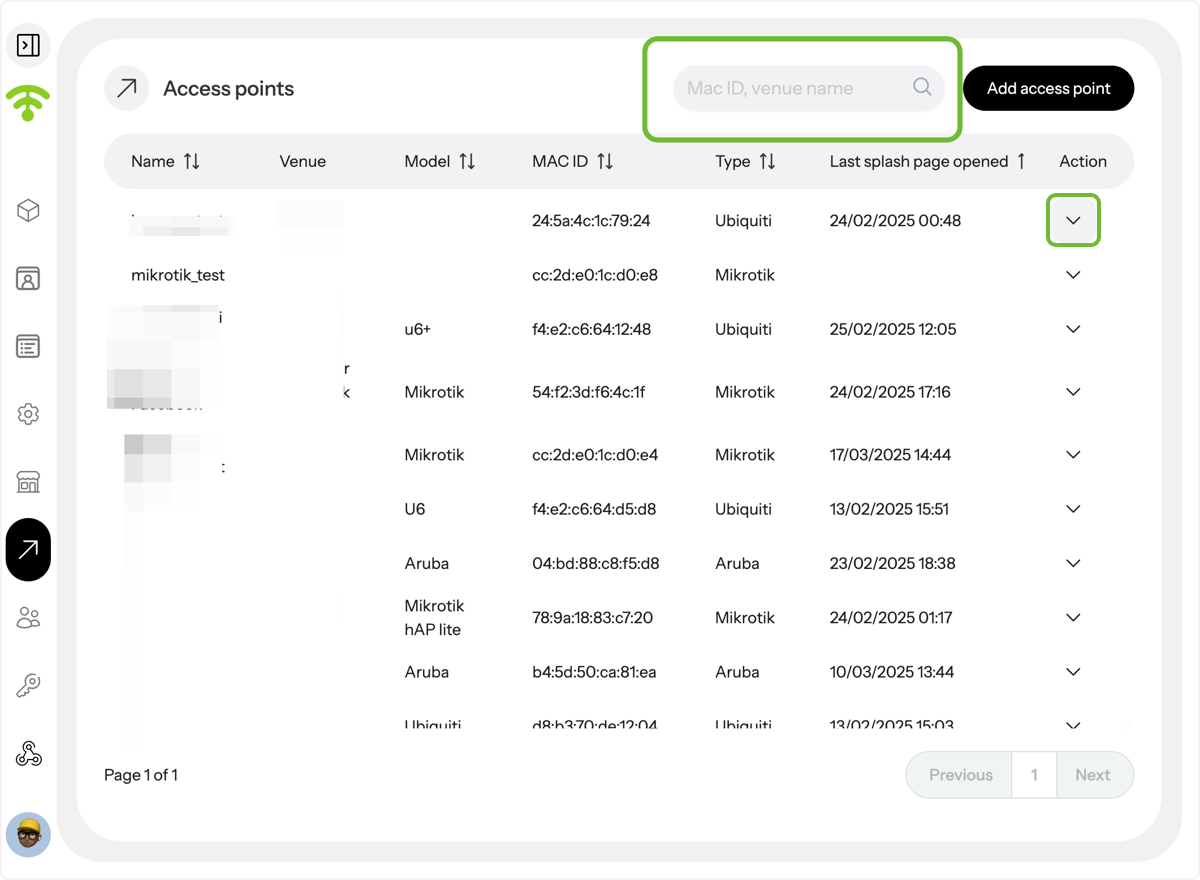
A preview of your added access points will appear, showing their name, venue, model, MAC ID, type, and last splash page activity. You can also quickly search for an access point using the MAC ID or venue name in the search bar.
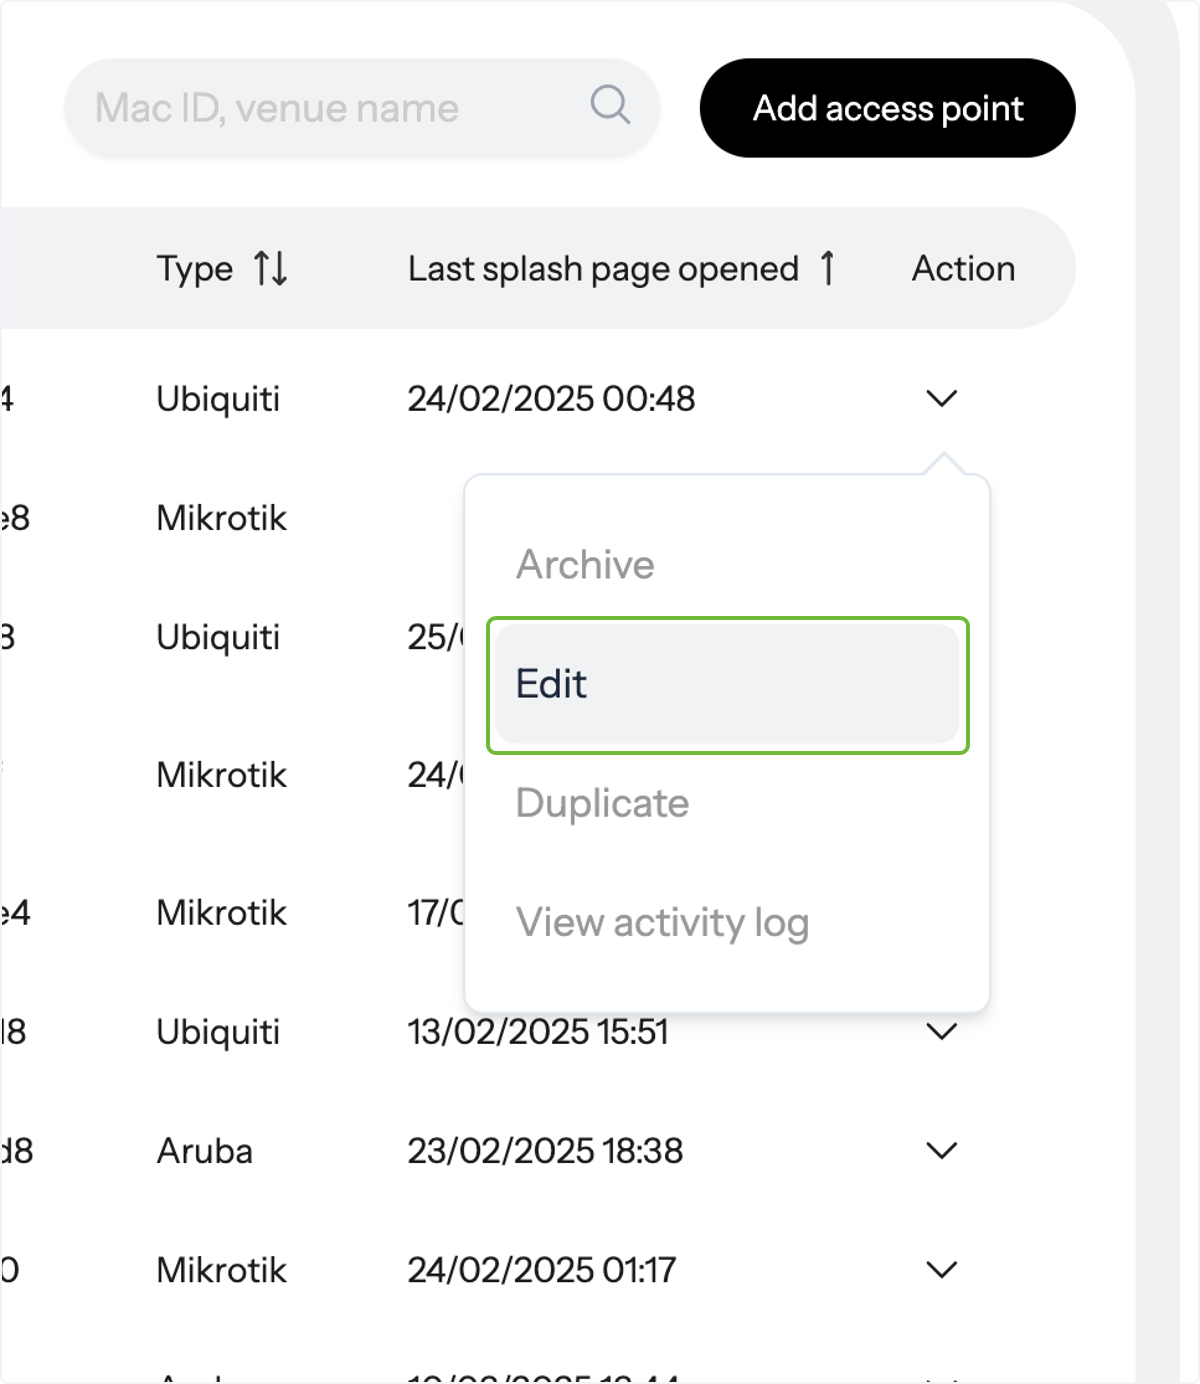
To edit an access point, go to 'Actions' next to the access point name and select 'Edit' from the drop-down menu.
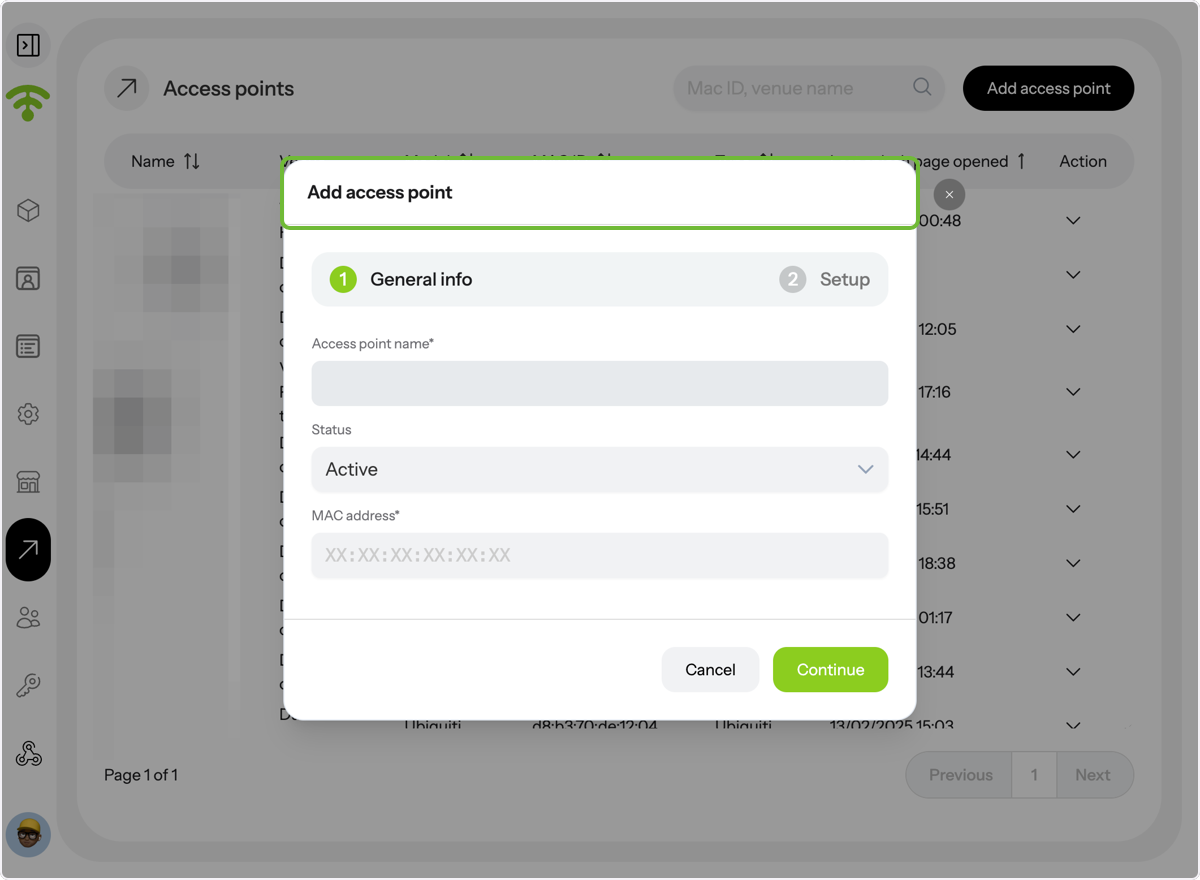
When you click 'Edit,' the general information for your access point will appear. You can view and modify the access point name, status \(Active, Inactive, or Archived\), and MAC address. Click 'Continue' to proceed or select 'Setup' to configure additional settings.
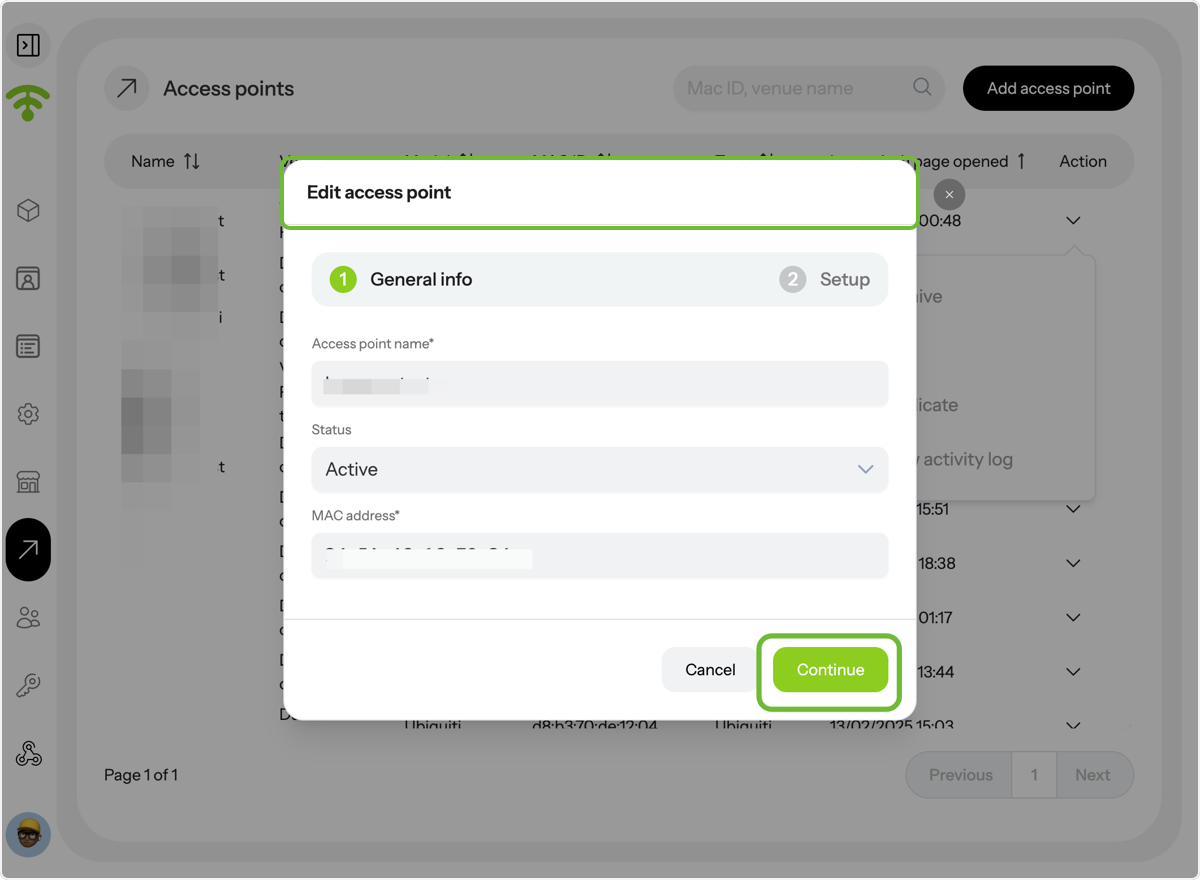
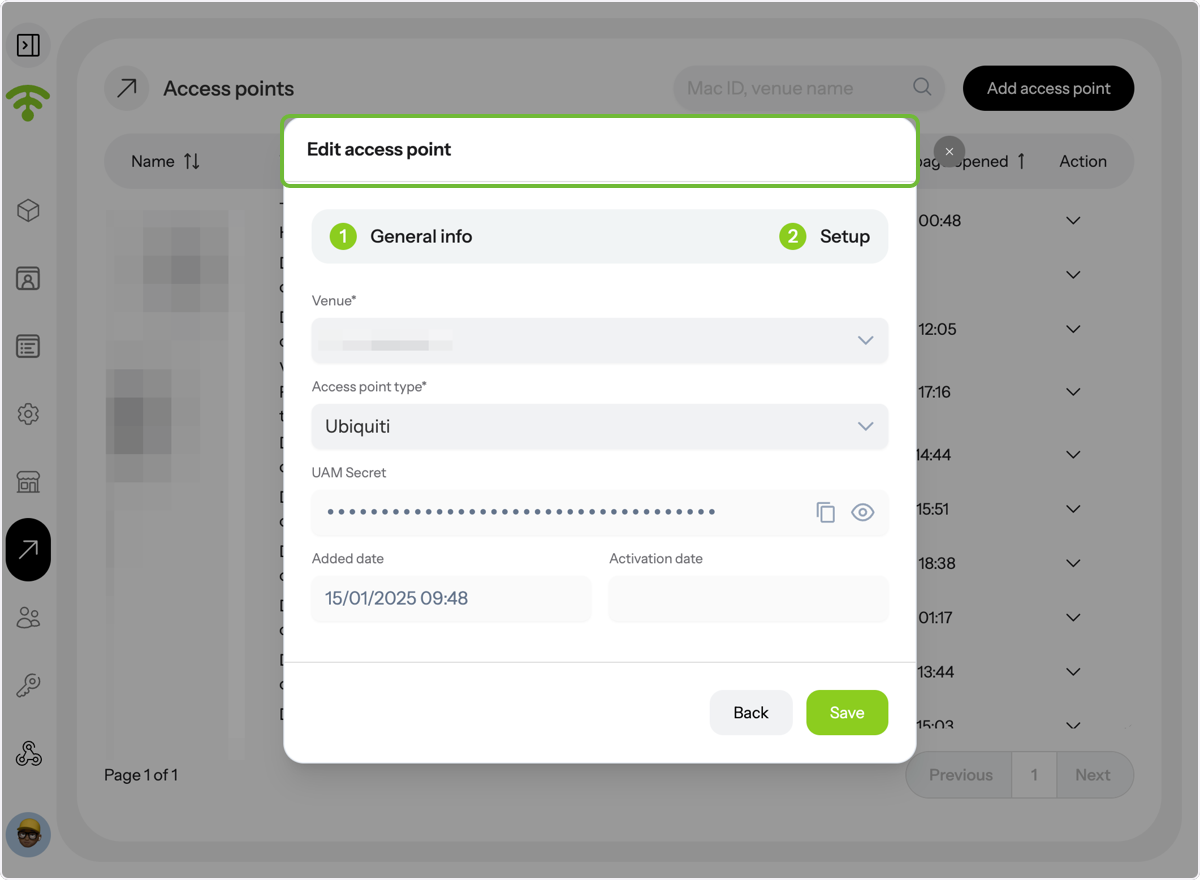
Click 'Setup' to view and edit further key details such as the access point's venue name, access point type.
UAM Secret, the date it was added and its activation date will automatically generate once saved.
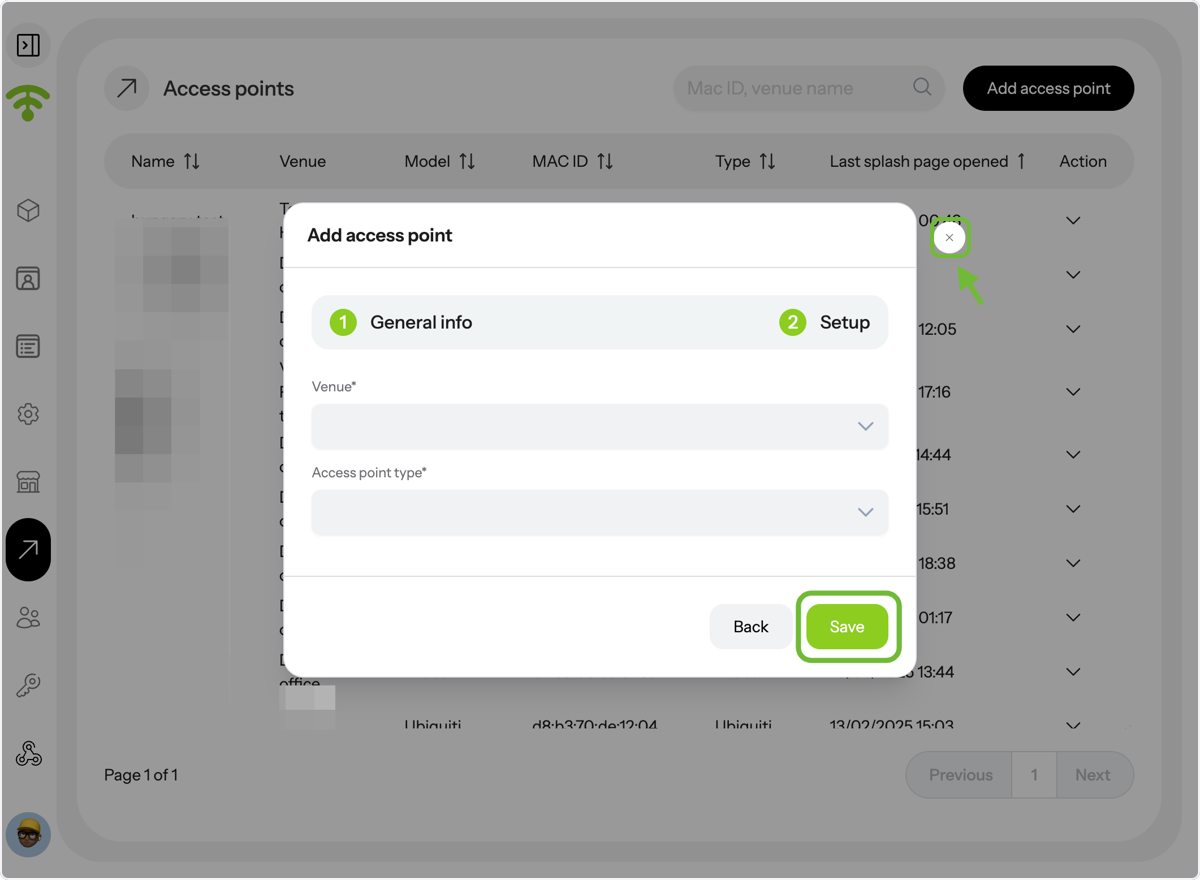
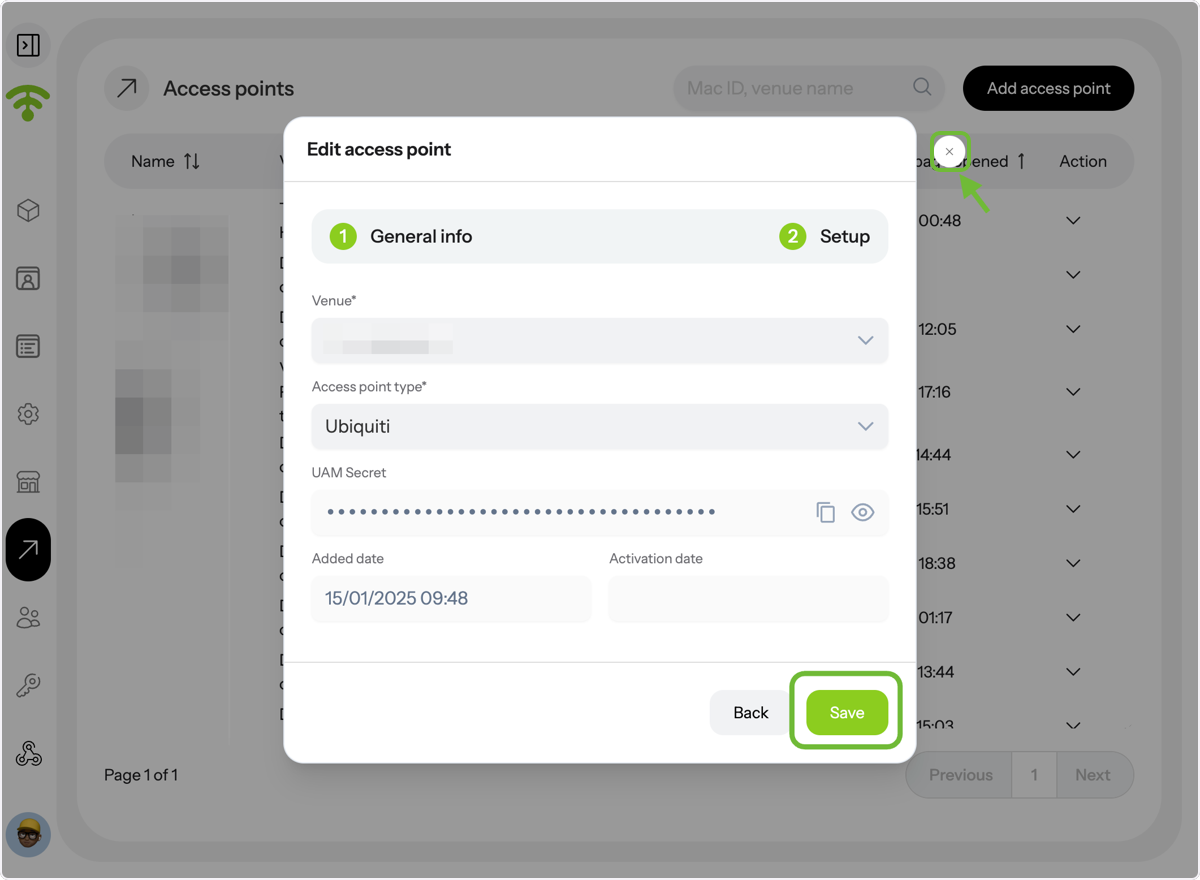
Once you're done editing, click 'Save' and close the tab by clicking the cross next to it.
Adding a new access point- Affinect
To add a new access point, click on 'Add Venue' in the top-right corner.
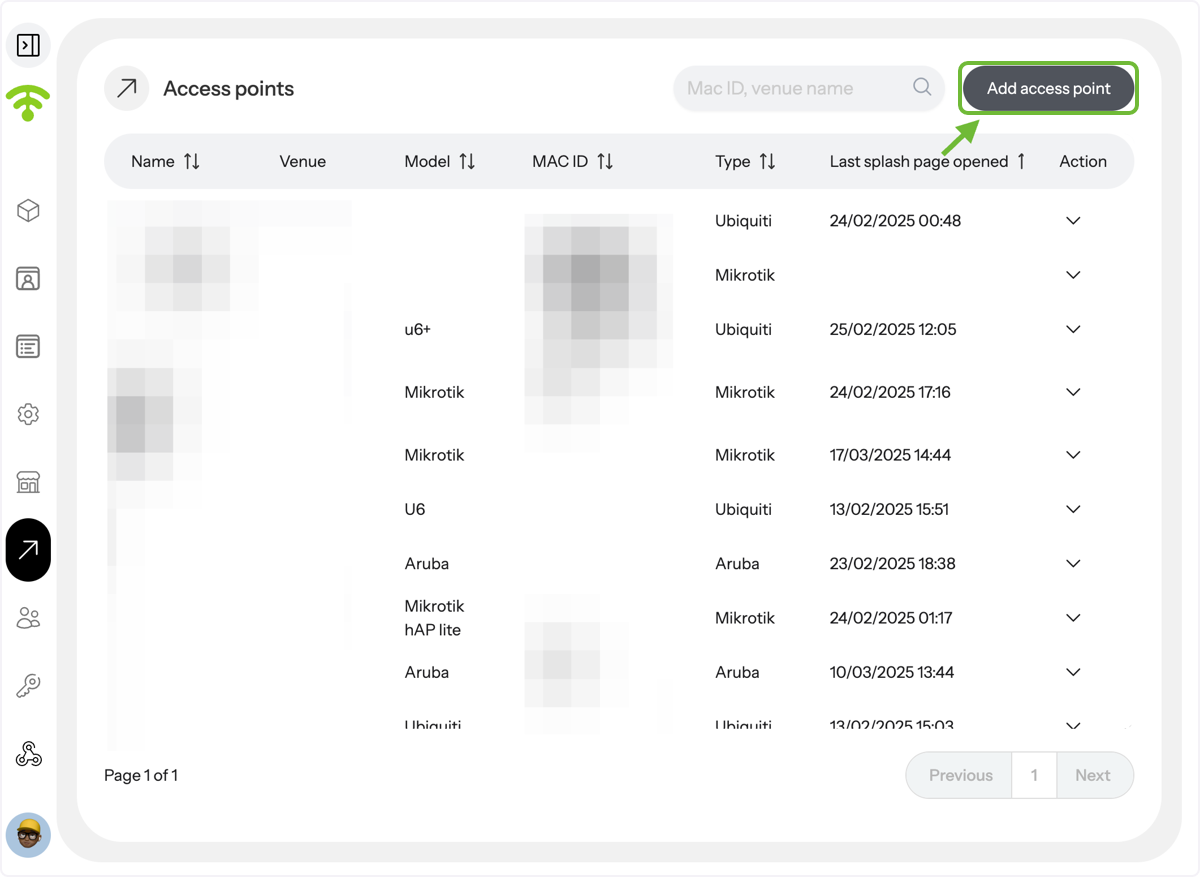
When you click on 'Add access point', a tab similar to the 'Edit Access point' will appear—follow the same steps as above to complete the process.
Once you're done, click 'Save' and close the tab by clicking the cross next to it. Tada! That's all. Happy Connecting and Managing Your Access Points!