Set Up Your WiFi Login Page.
Choose a branded splash page or request a template from support.
Кончик: Highlight your value — e.g., “Sign in for exclusive perks & updates.”
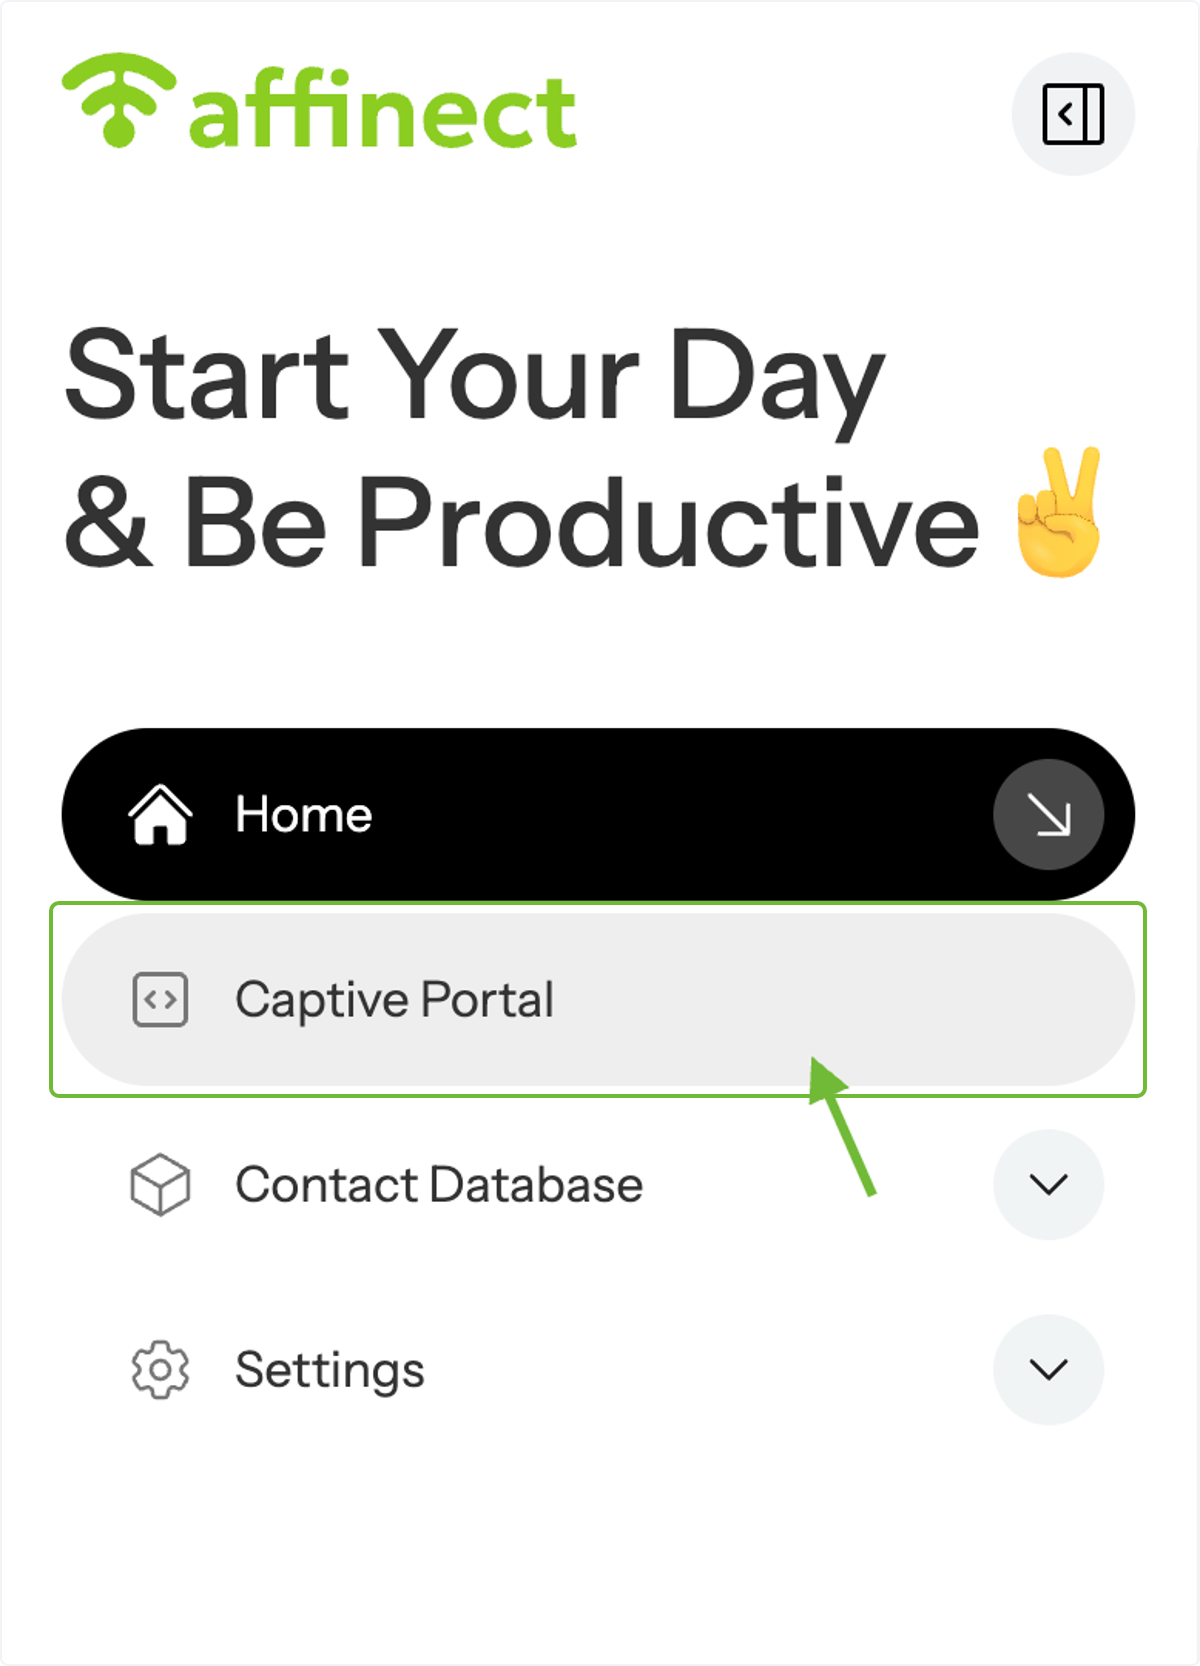
Click on Captive Portal.
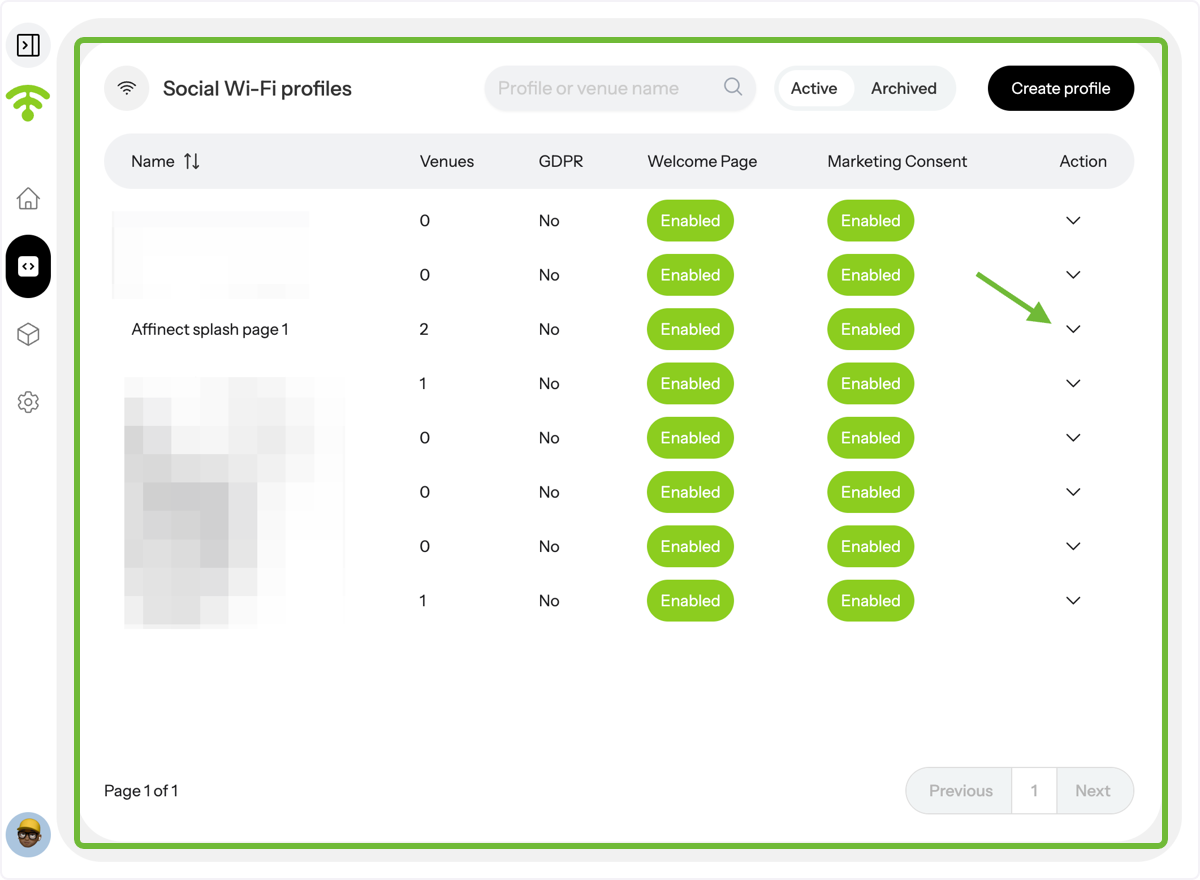
A preview of your social Wifi profiles will appear. Go to Actions and click on the profile's drop-down menu you wish to edit.
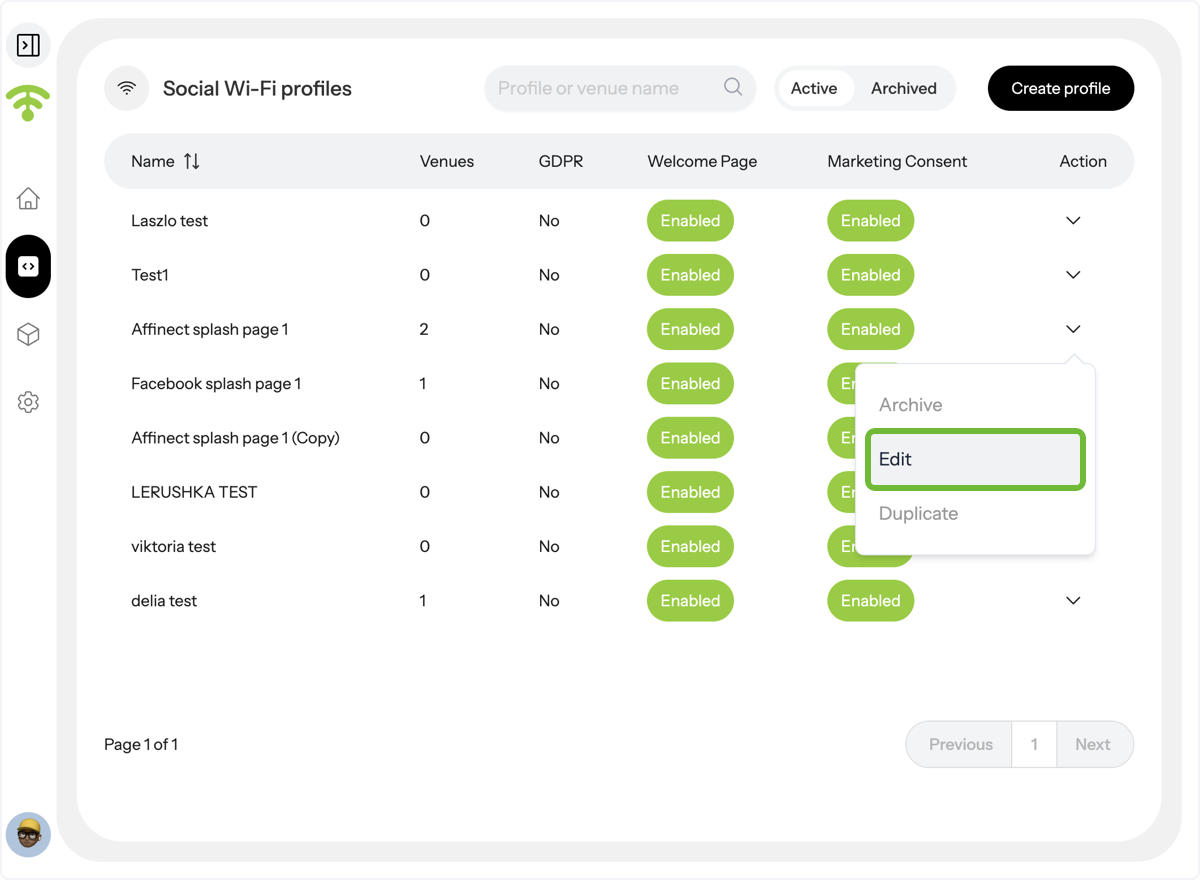
Select edit to continue.
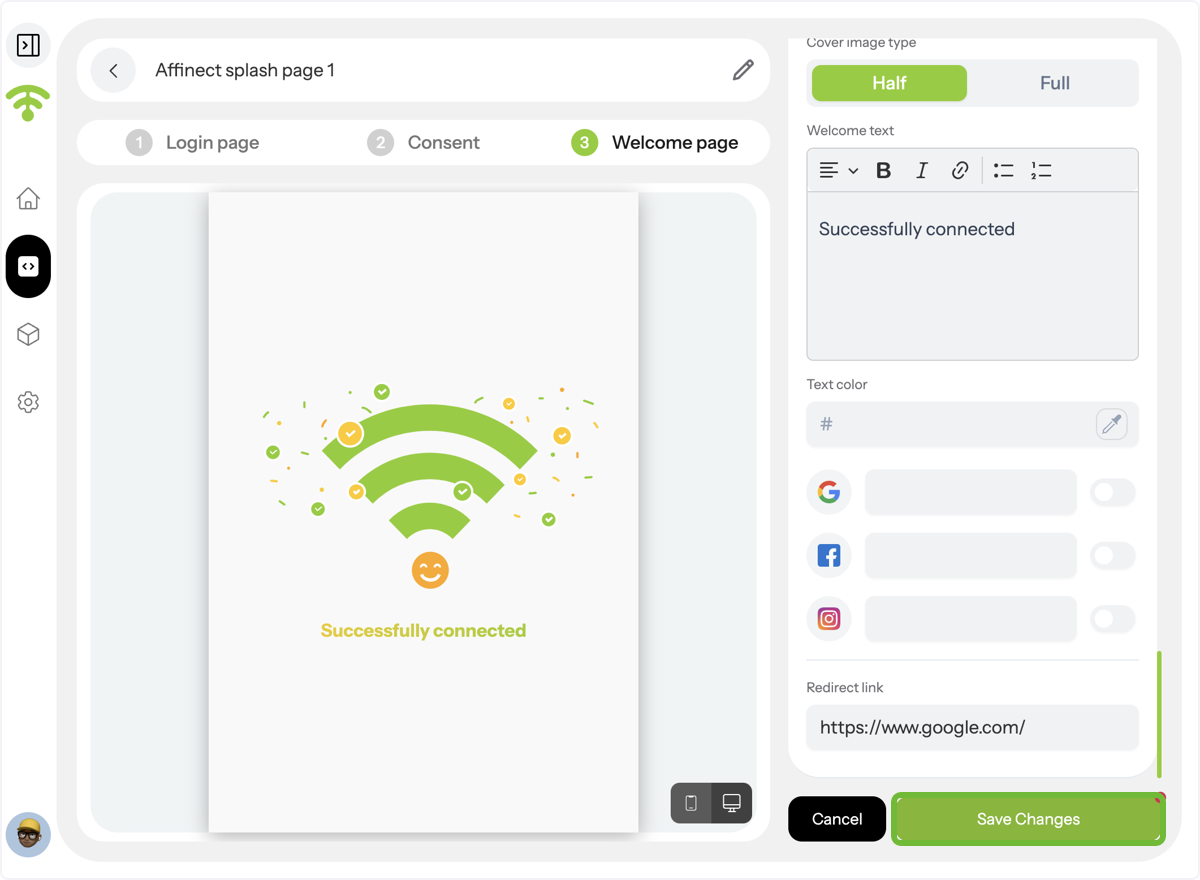
A preview of your splash page will appear with settings on the right-hand side.
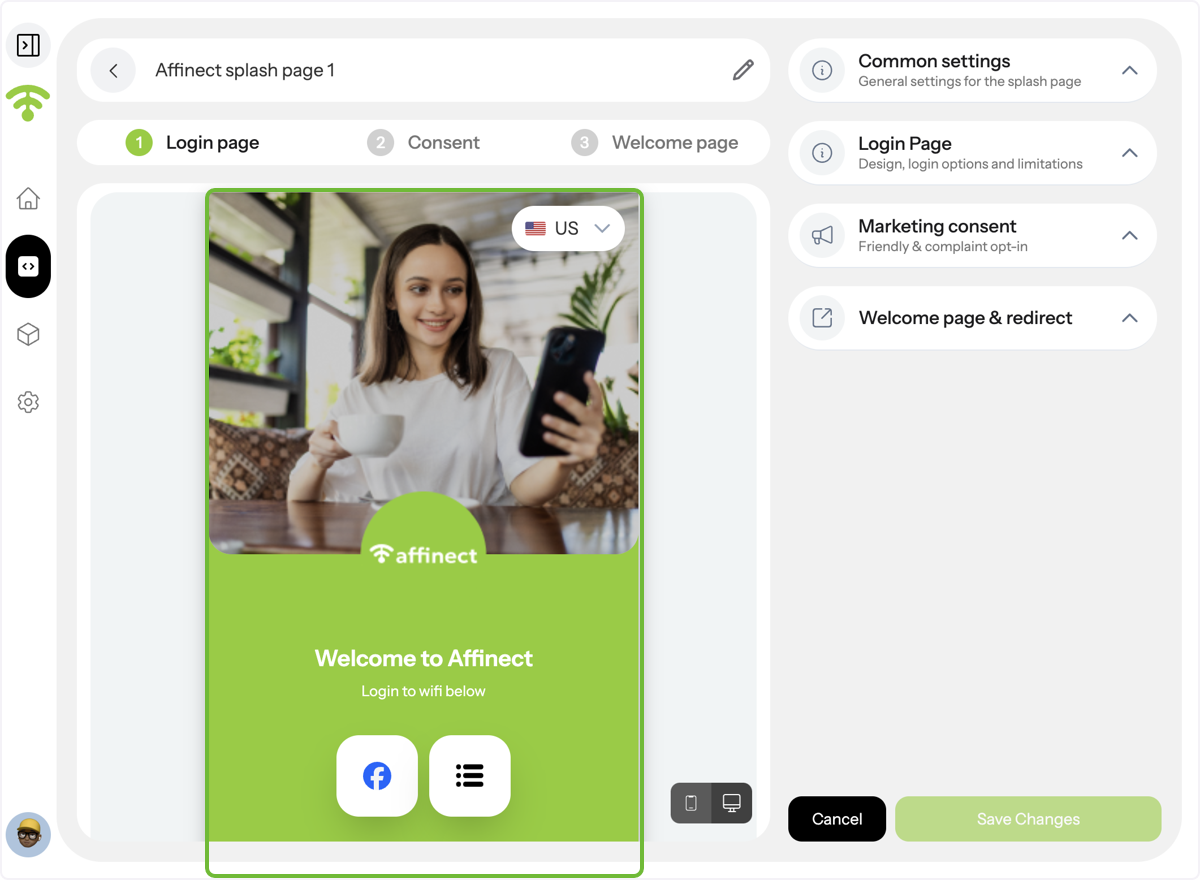
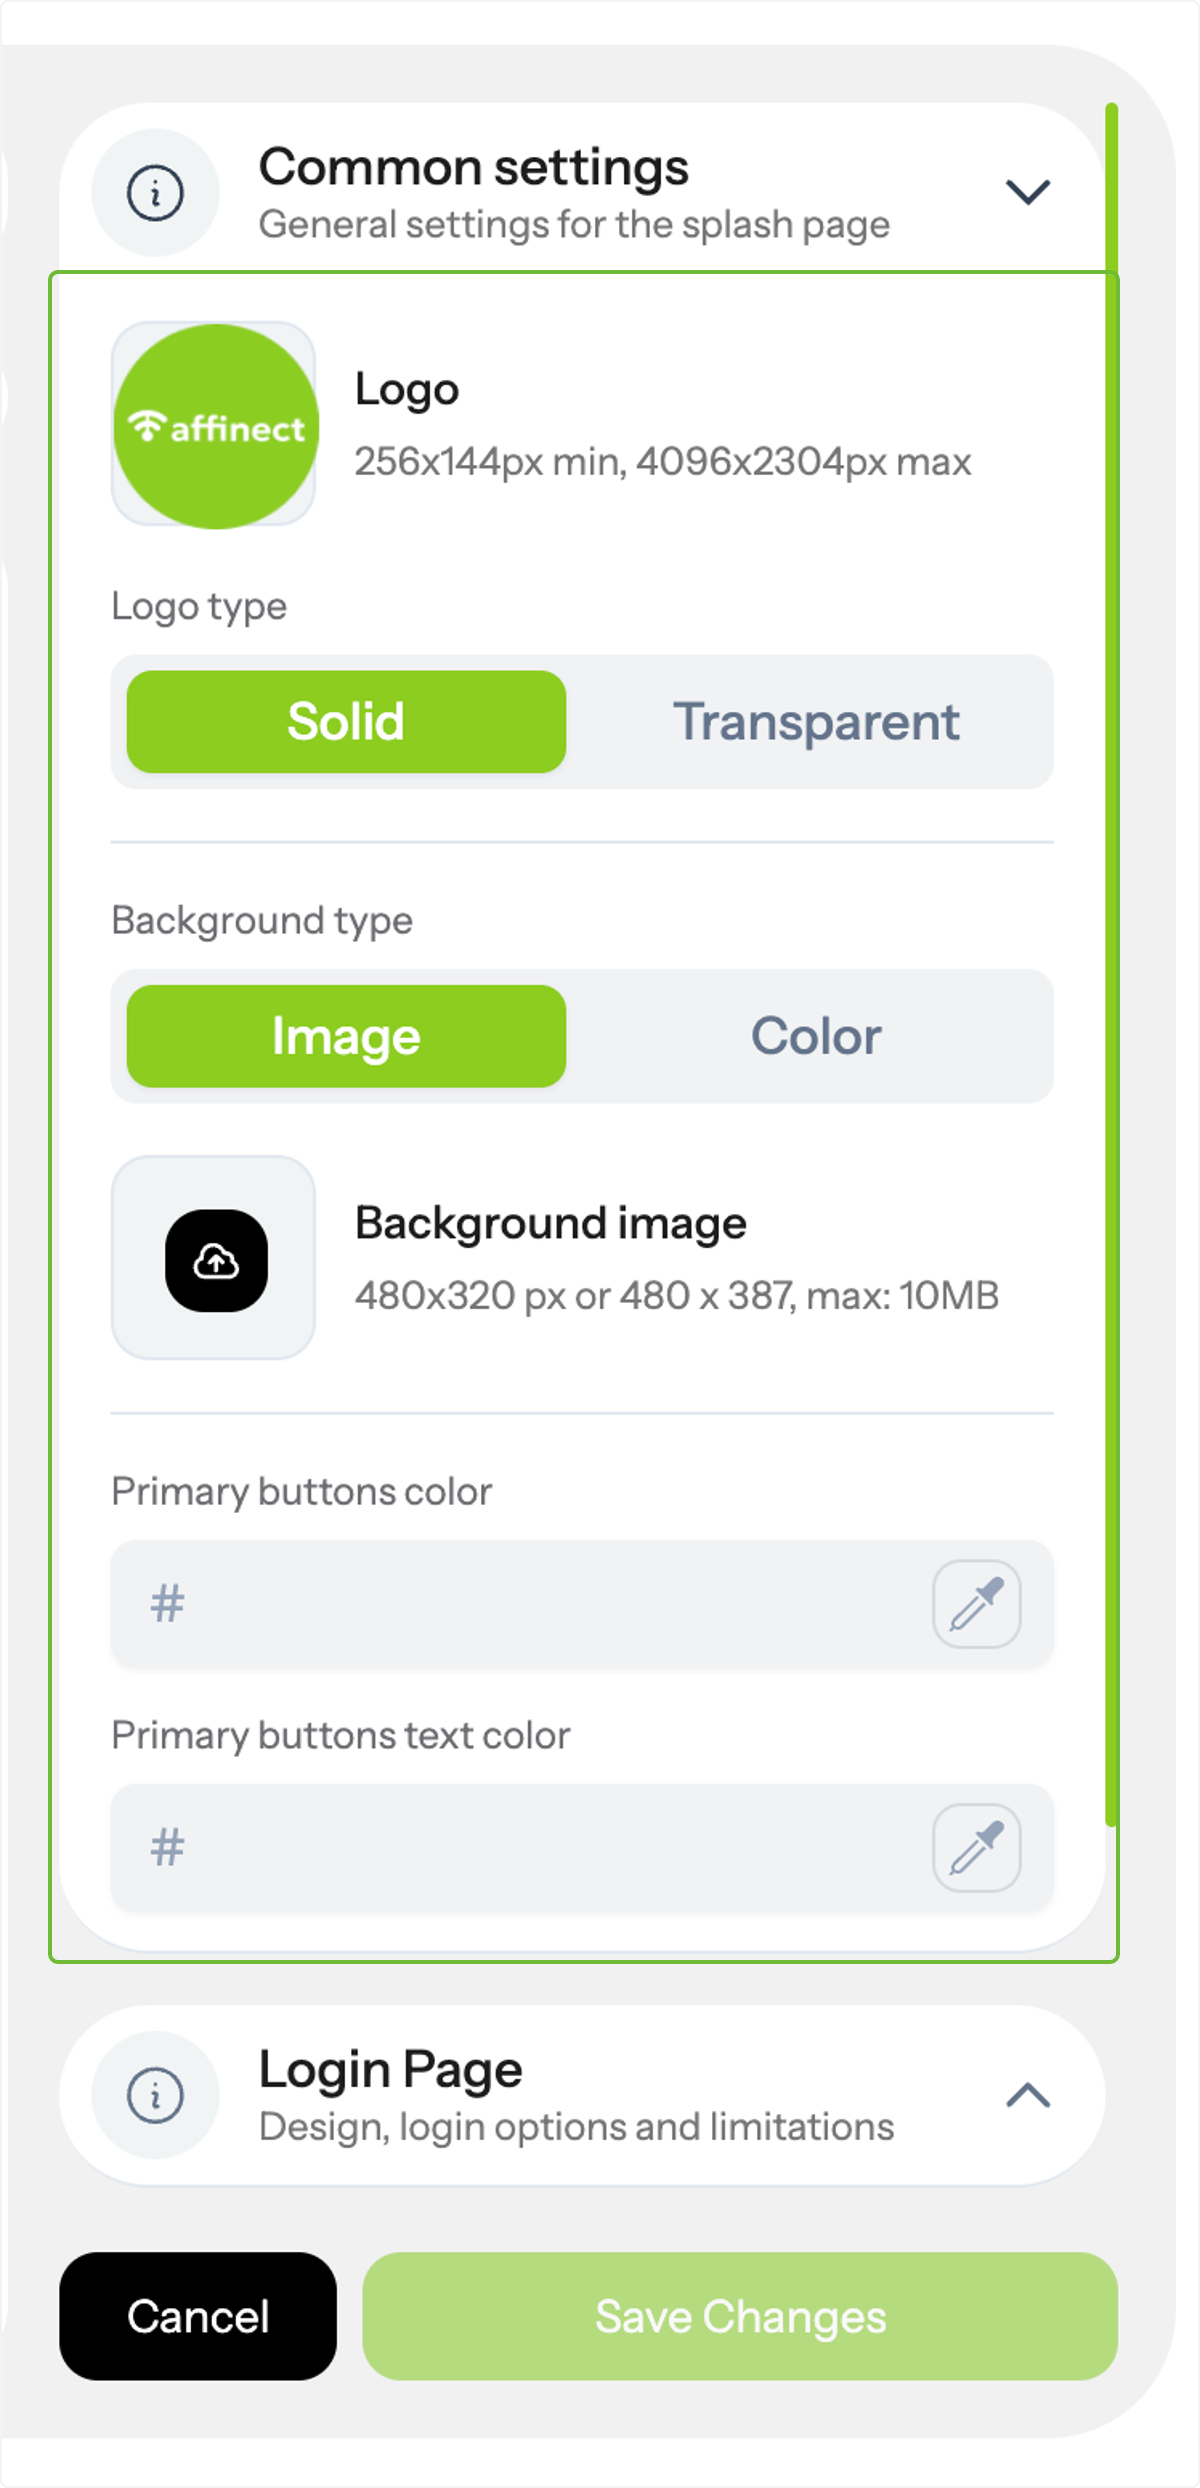
Click on Common Settings.
In general settings for your splash page, you can:
- Upload your logo (solid or transparent).
- Choose a background: either an image or a solid color.
- Customize the primary button colors and button text colors to match your brand.
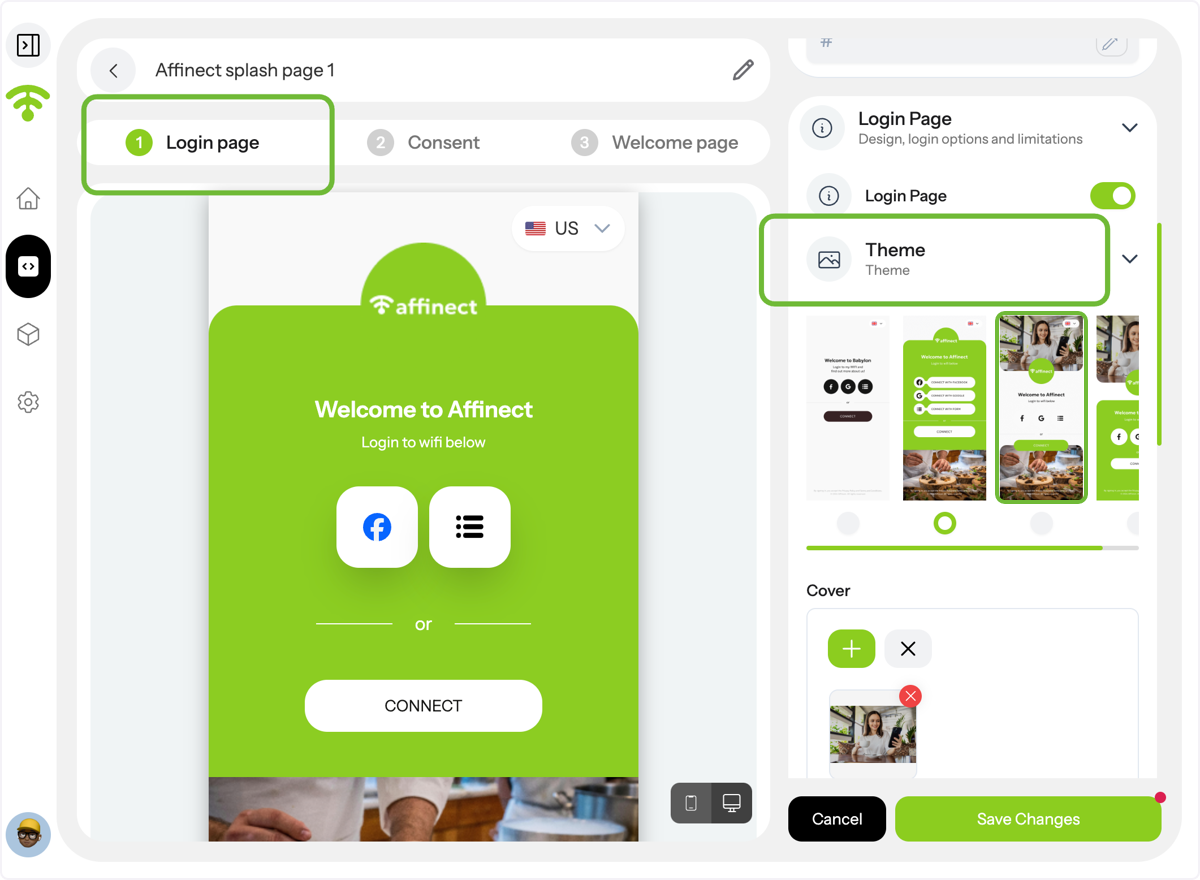
Click on the Login Page for branded customization.
In Login Page settings, you can:
- Themes: Pick a theme that suits your restaurant's ambiance. You can select different themes and see how they appear.
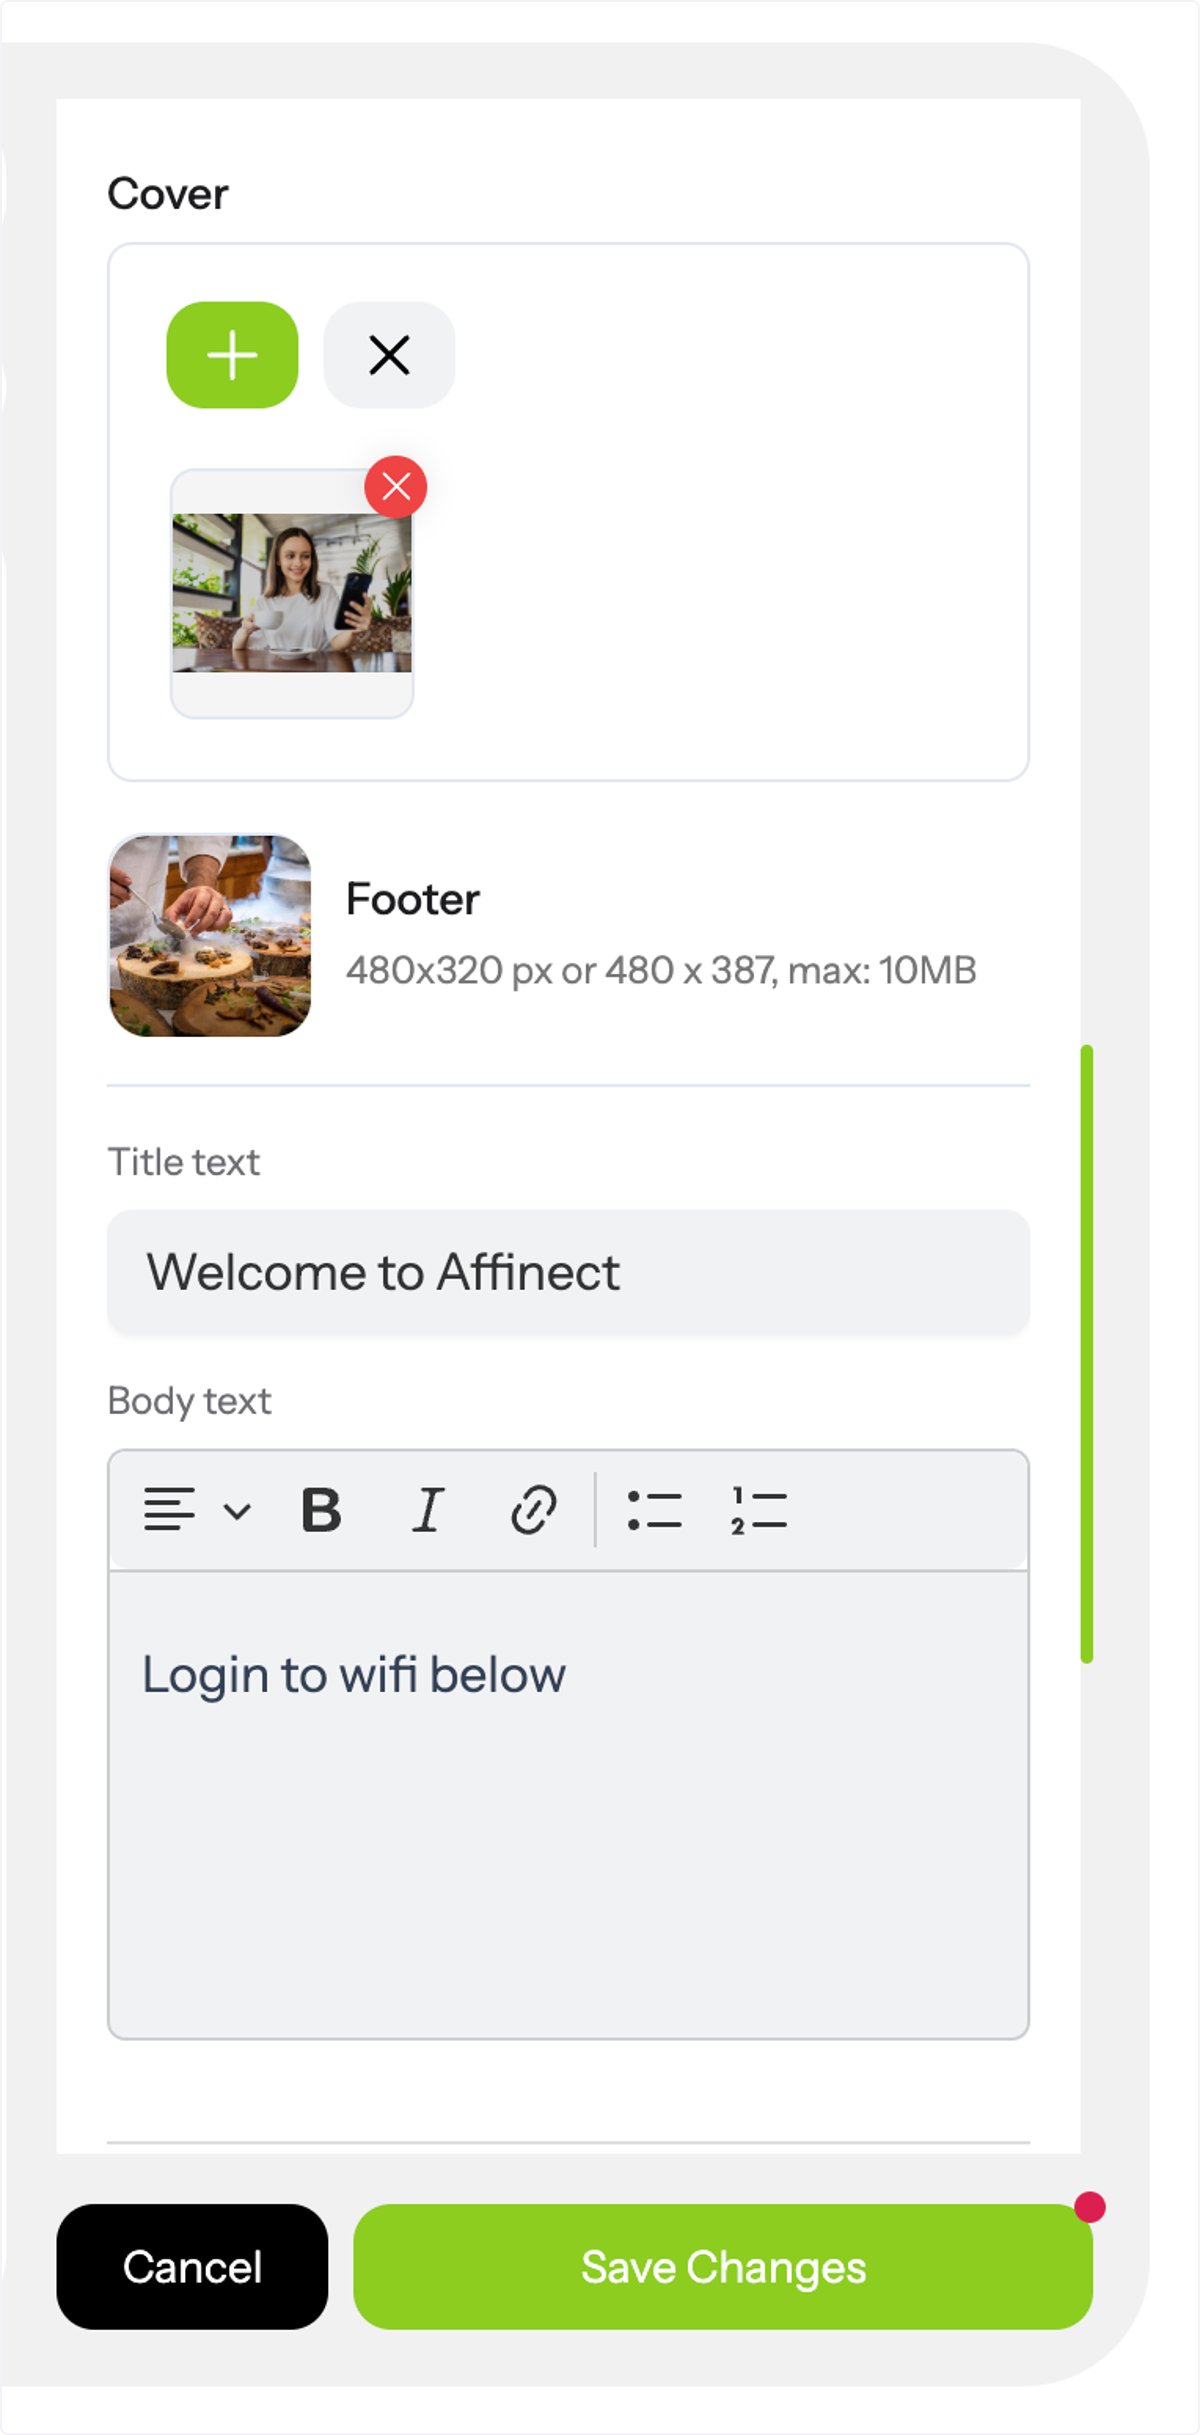
Click on the Login Page for branded customization.
In Cover, Footer, and Text:You can add images of your choice and customize the title and body text like "Login to WiFi below".
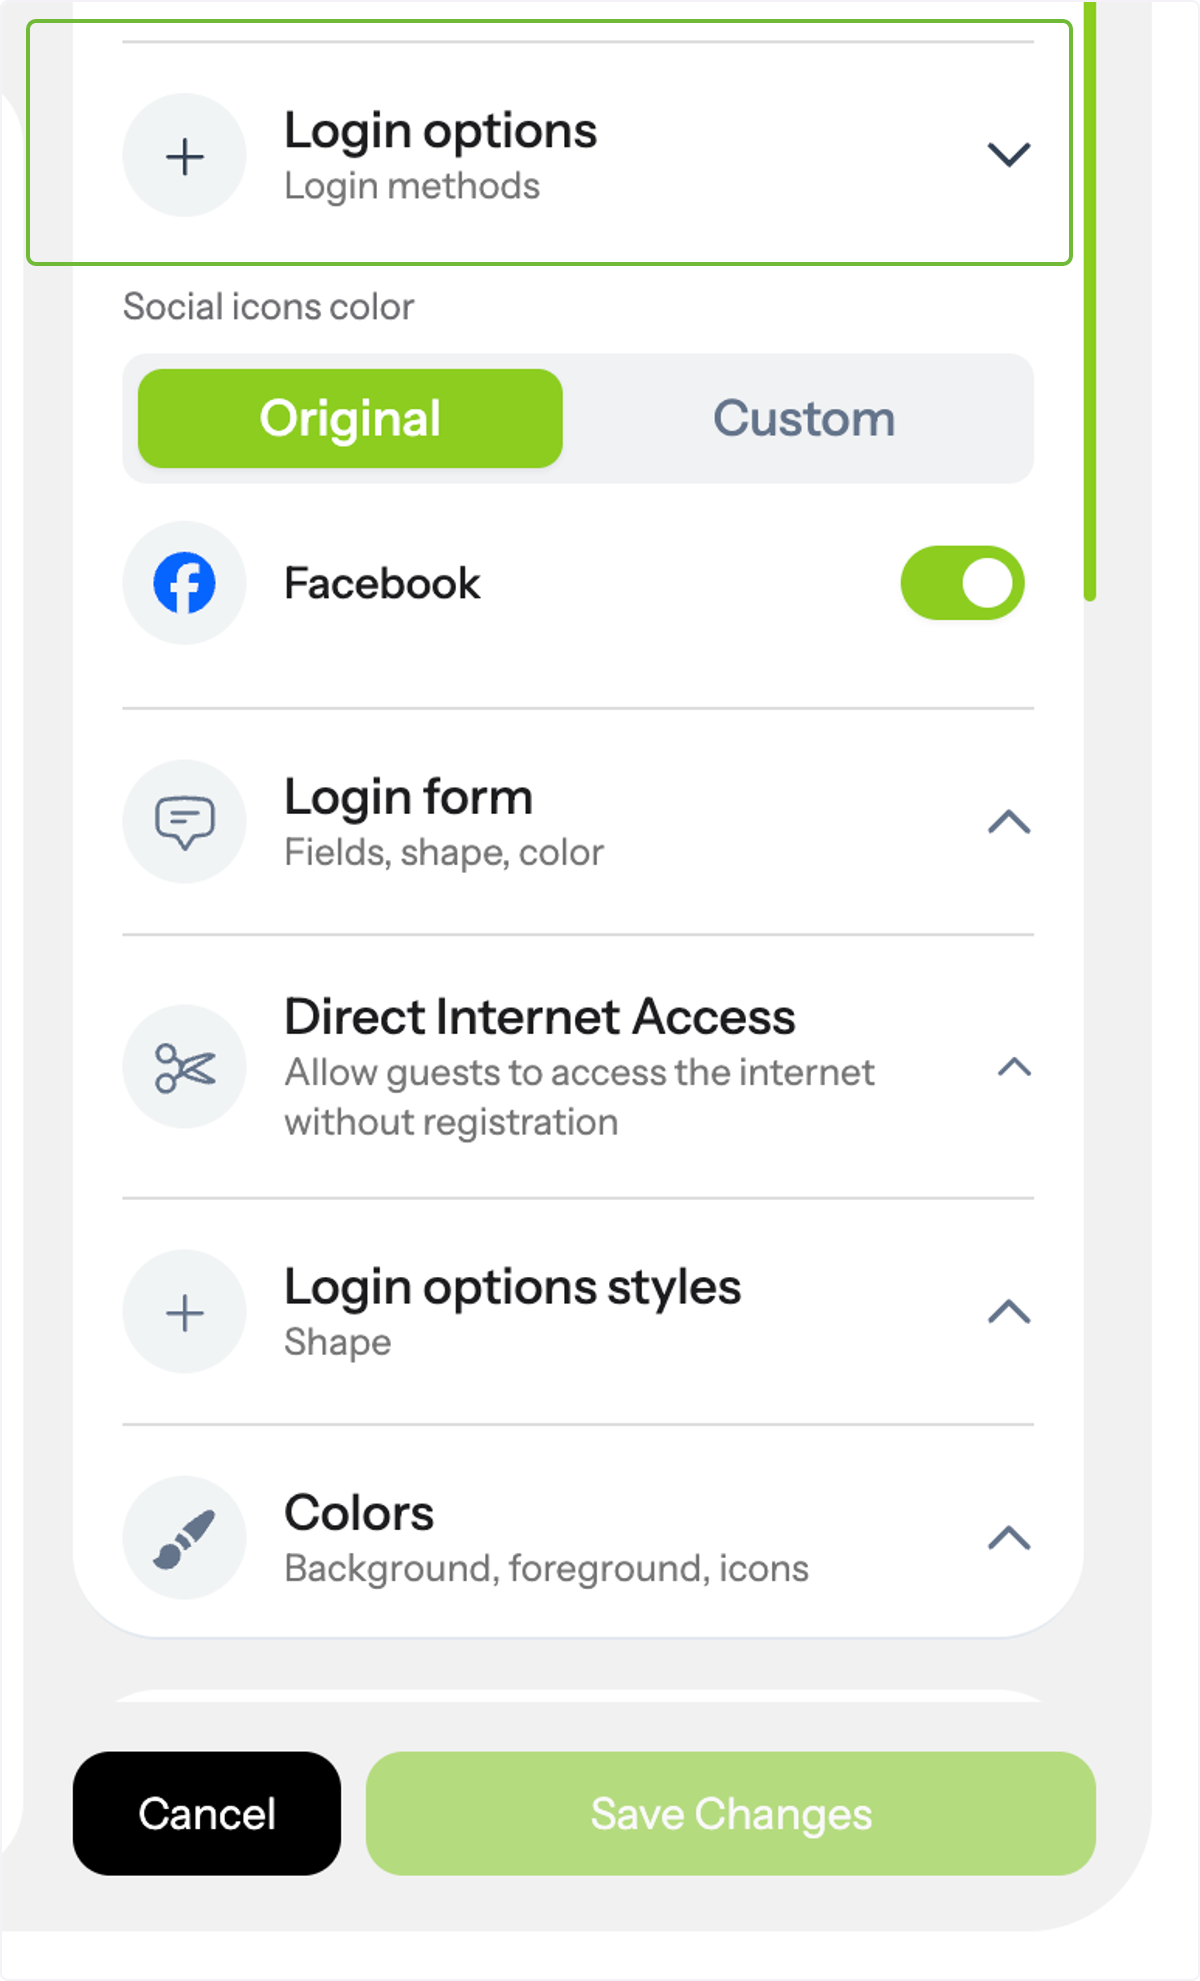
Click on Login Options.
In Login Options, you can:
- Choose between Facebook login или custom login forms.
- For Facebook, you can choose from the original social icon or upload a custom one.
- For the login form, you can customize the fields, shapes, colors, and decide which fields are active and which are required.
- Allow guests to access the internet without registration—great for quick access.
- Set data limitations, speed restrictionsи session duration.
- Choose the shape of your login buttons.
- Customize colors for foreground text, text boxes, login icons, and the Direct Internet Access button to match your theme.
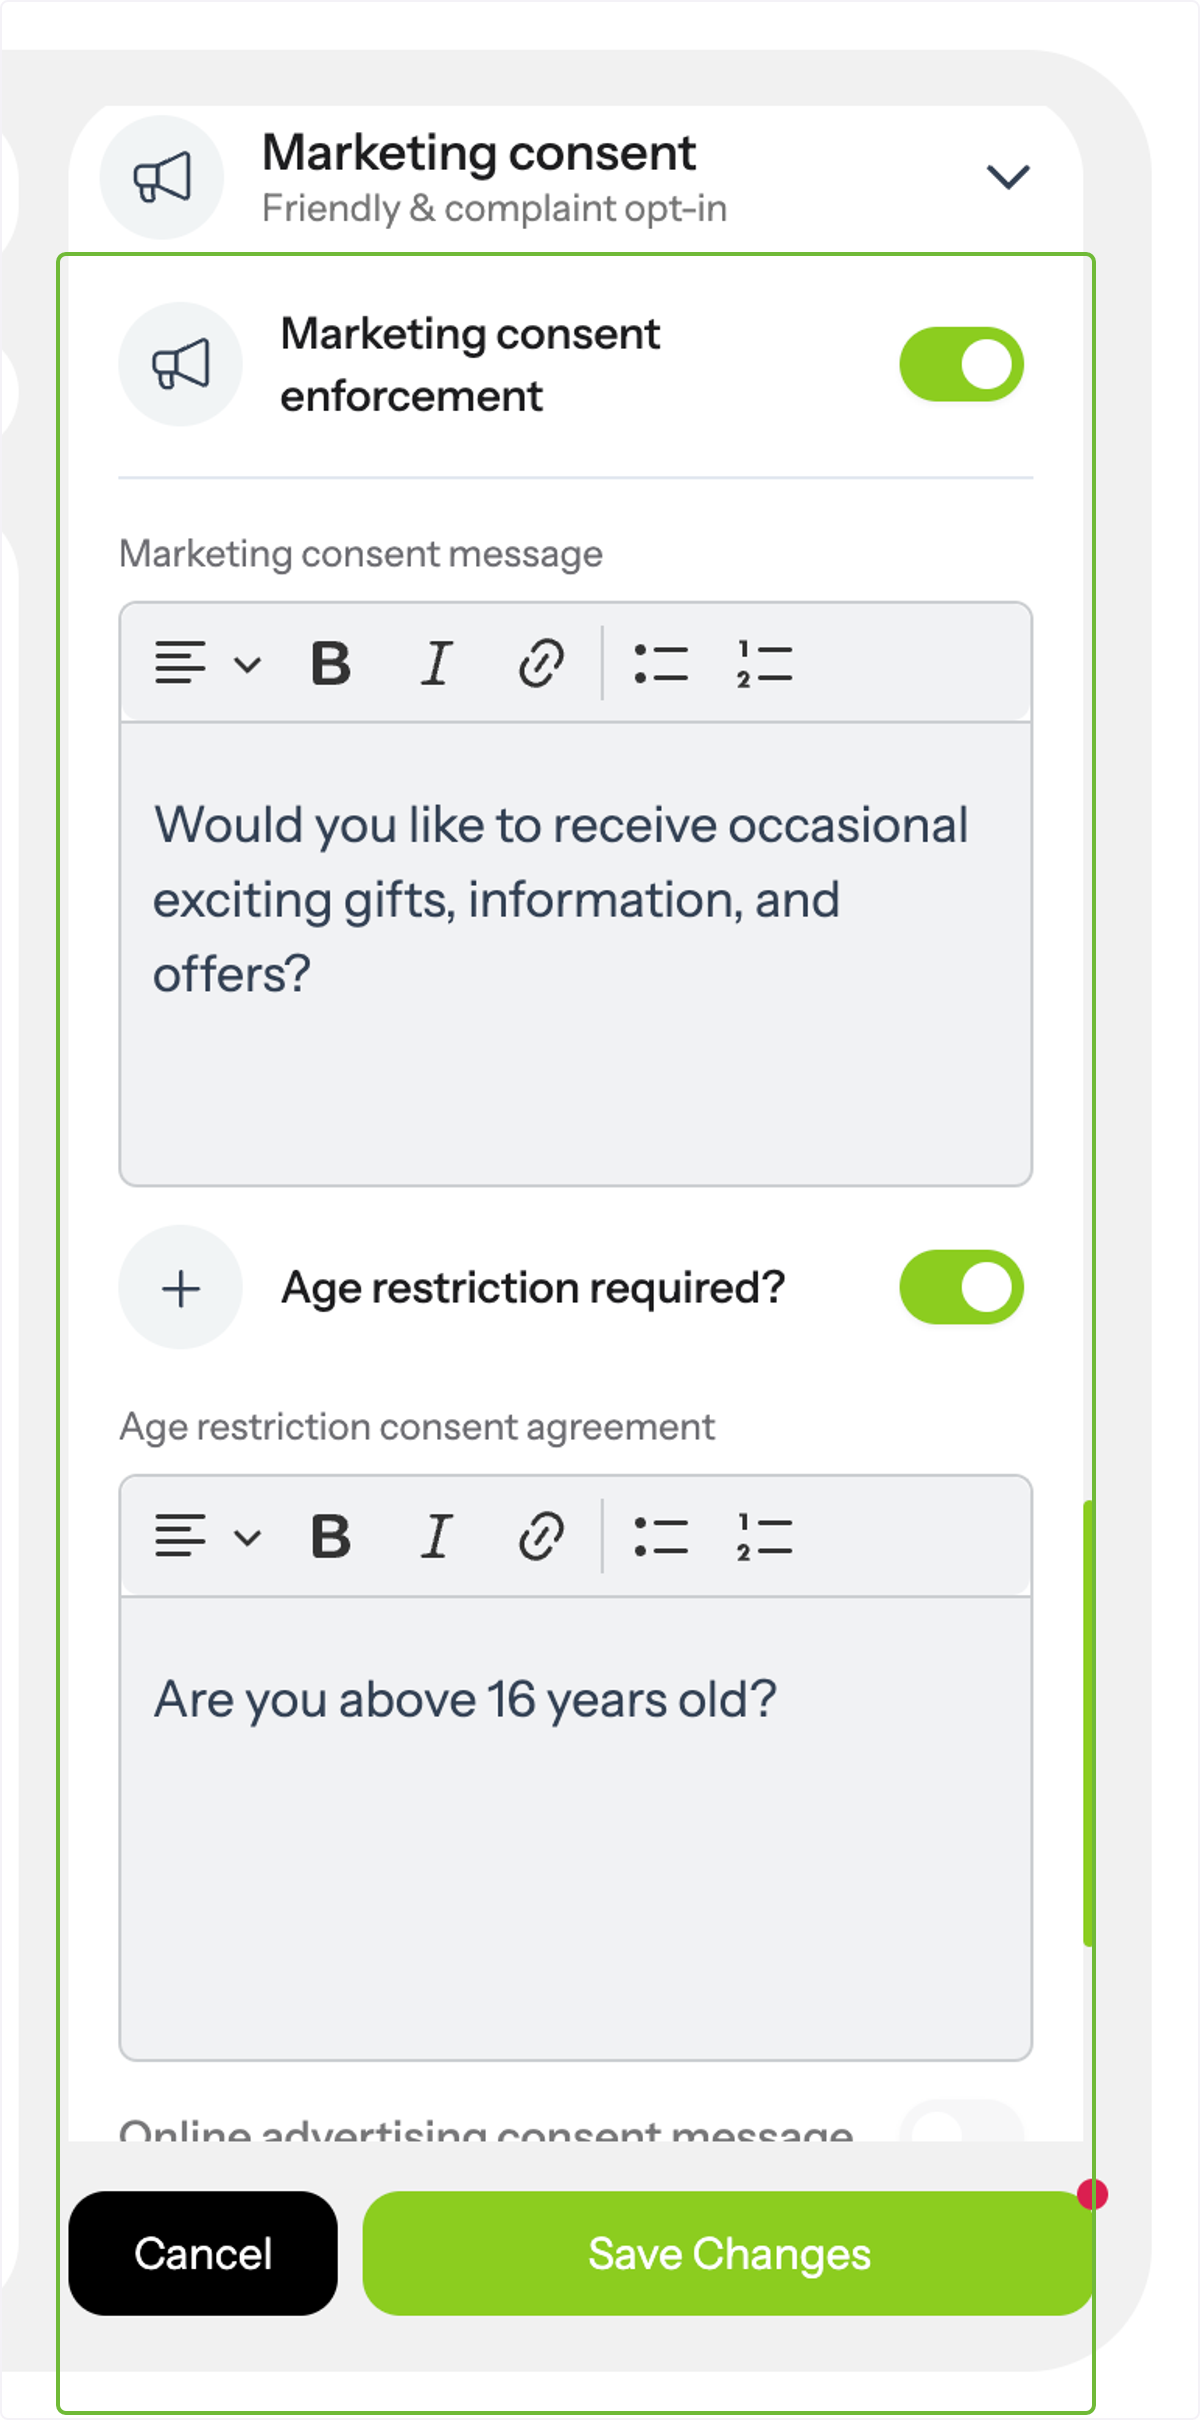
Click on Marketing consent.
In Marketing consent, you can:
- Add your custom marketing message and age restriction consent agreement.
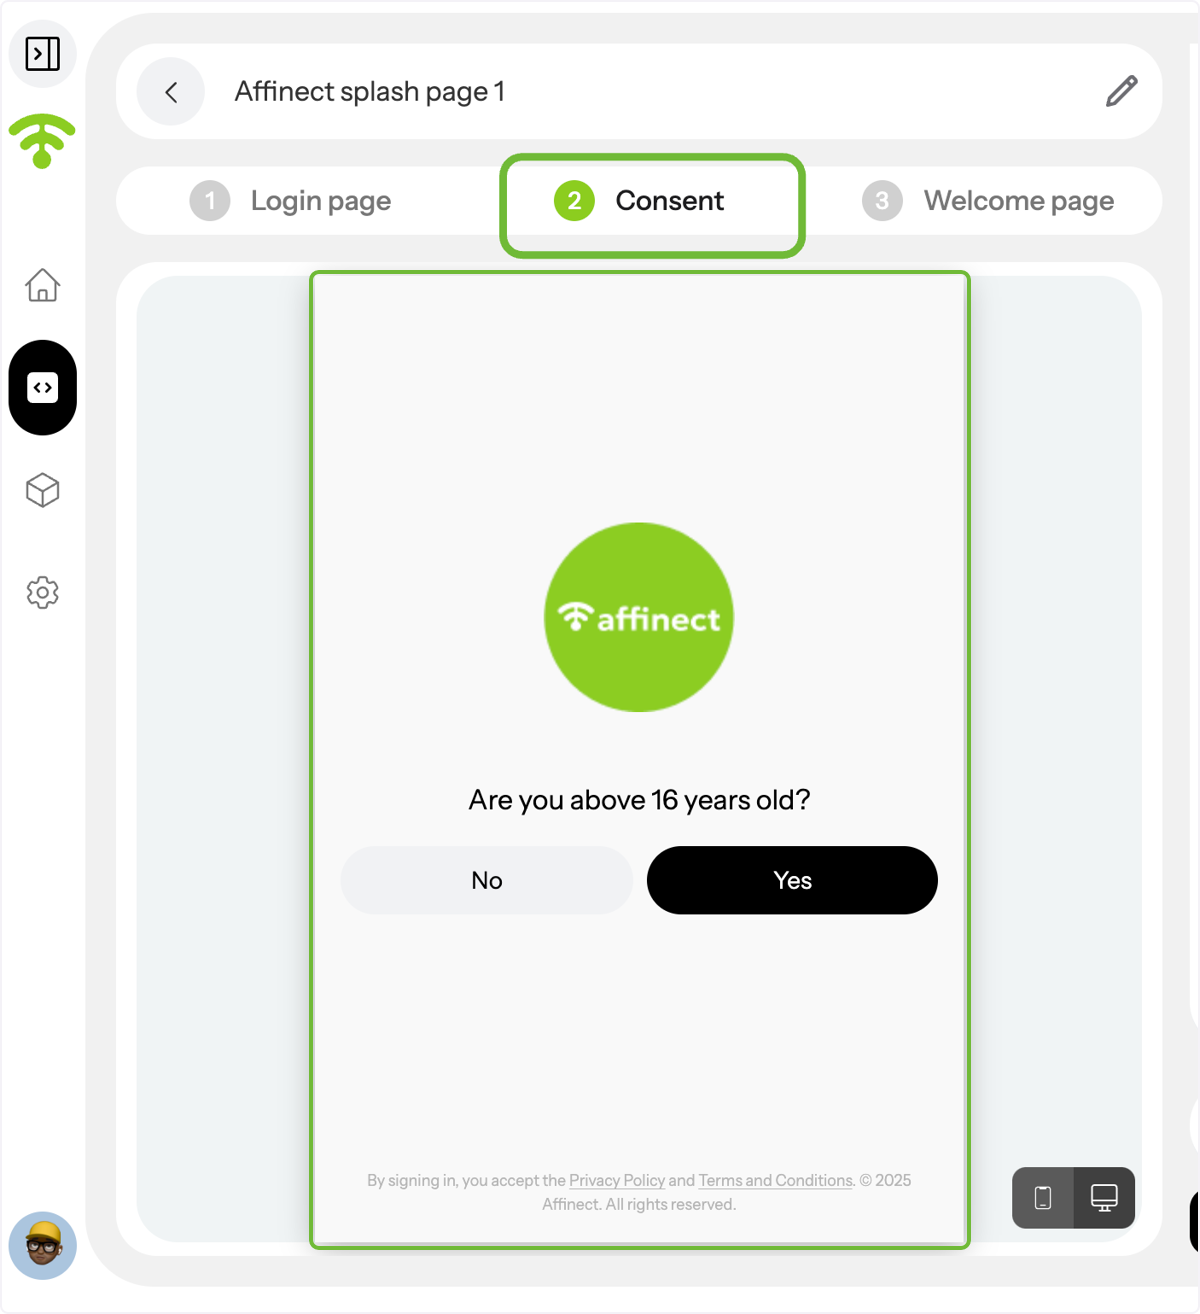
Click on Consent.
A preview of your consent page will appear. Make sure your opt-in hooks are on point.
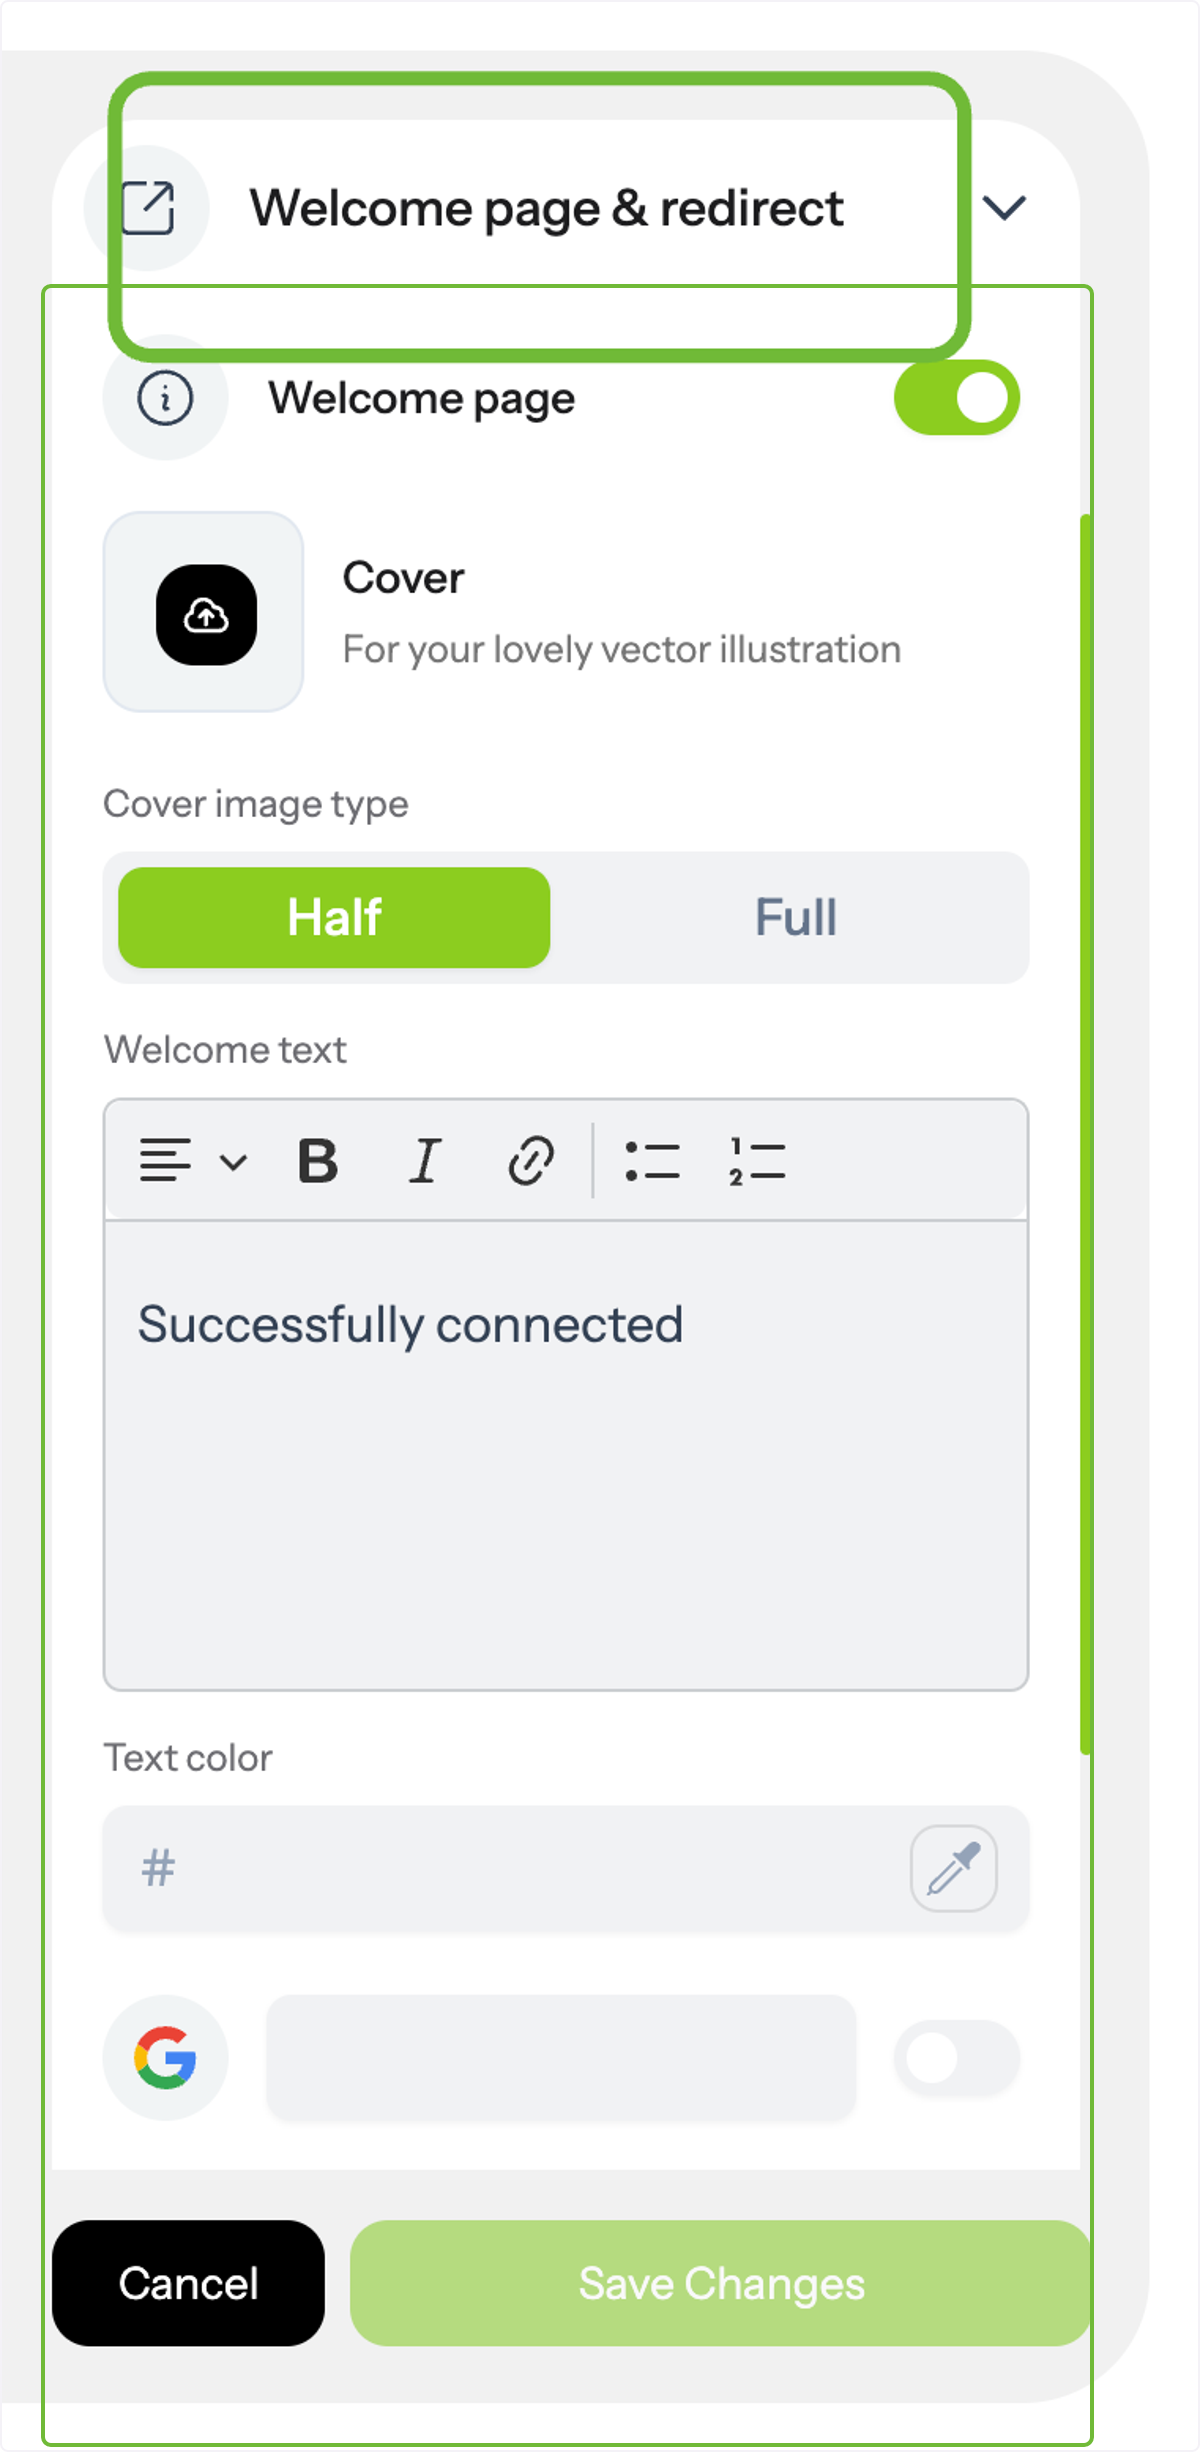
Click on the Welcome page & redirect.
In Welcome Page settings, you can:
- Choose a cover image (half or full-screen) and customize the text and colors to set the tone for your guests’ Wi-Fi experience.
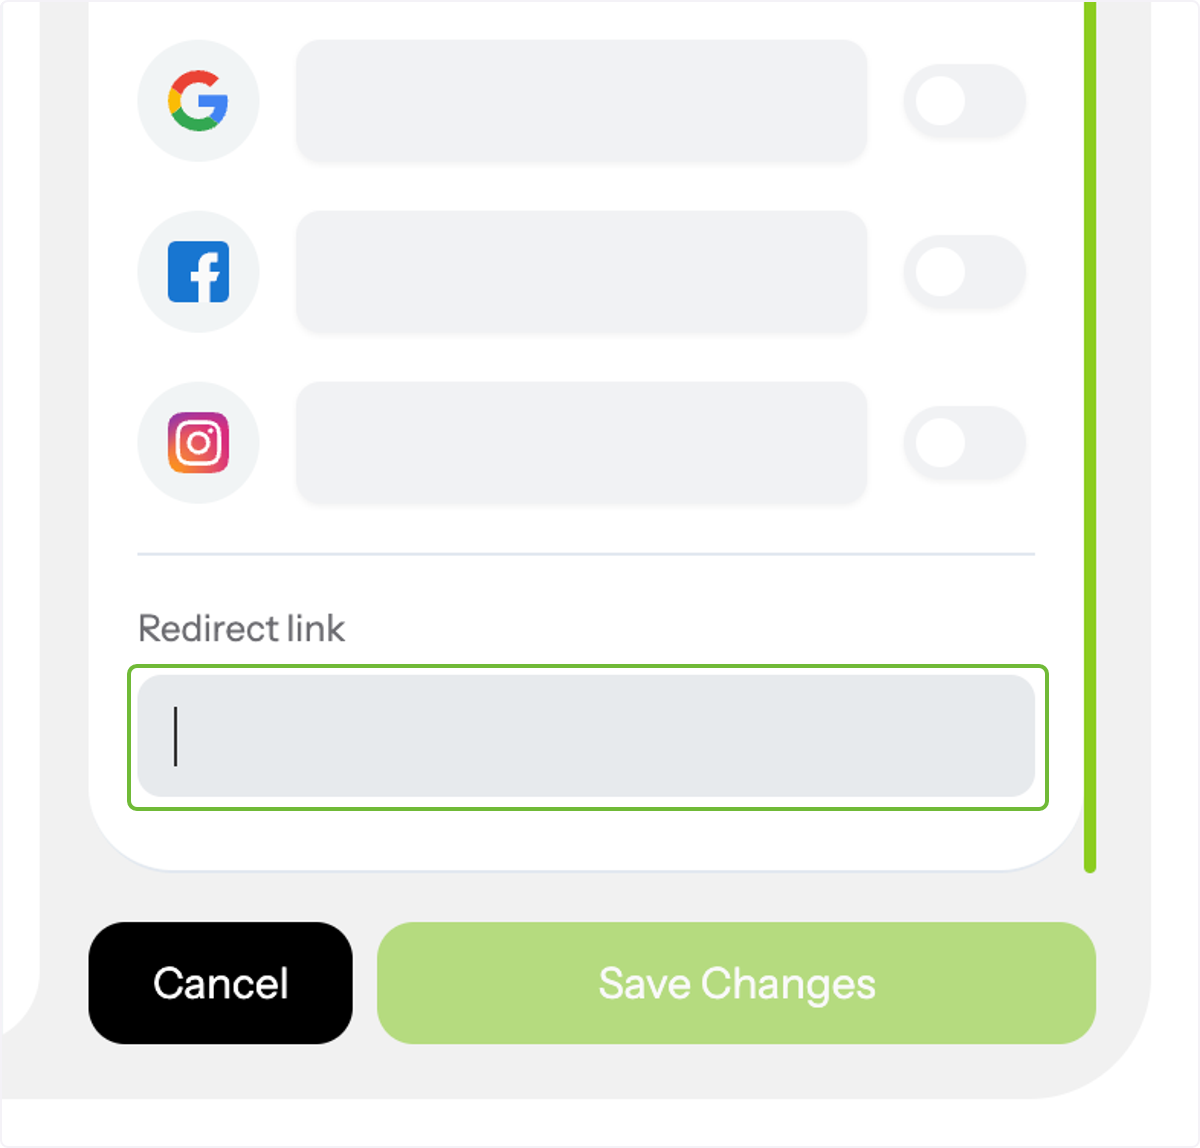
Click on the Redirect link.
Set the redirect link, choose options from Google, Facebook, Instagram, or a customized one.
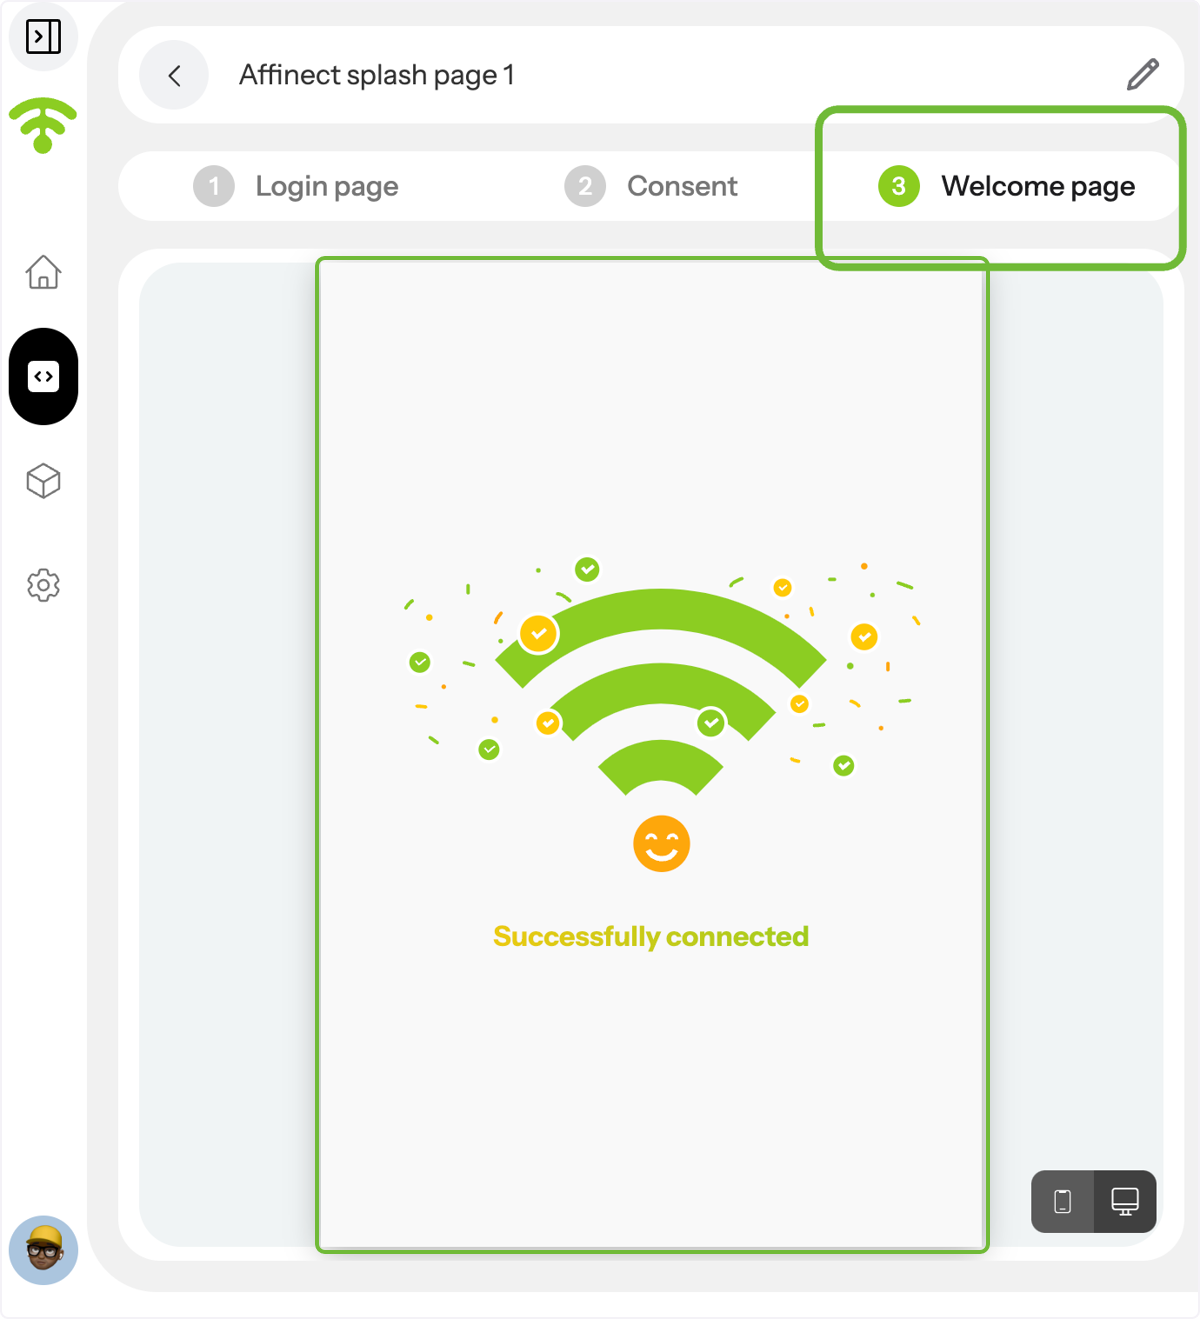
Click on the Welcome page.
A preview of your Welcome Page will appear. Ensure it is appealing for the guests.
Click on the mobile and desktop icons right beside the settings.
You can preview how it appears on tablets, computers, and mobile phones.
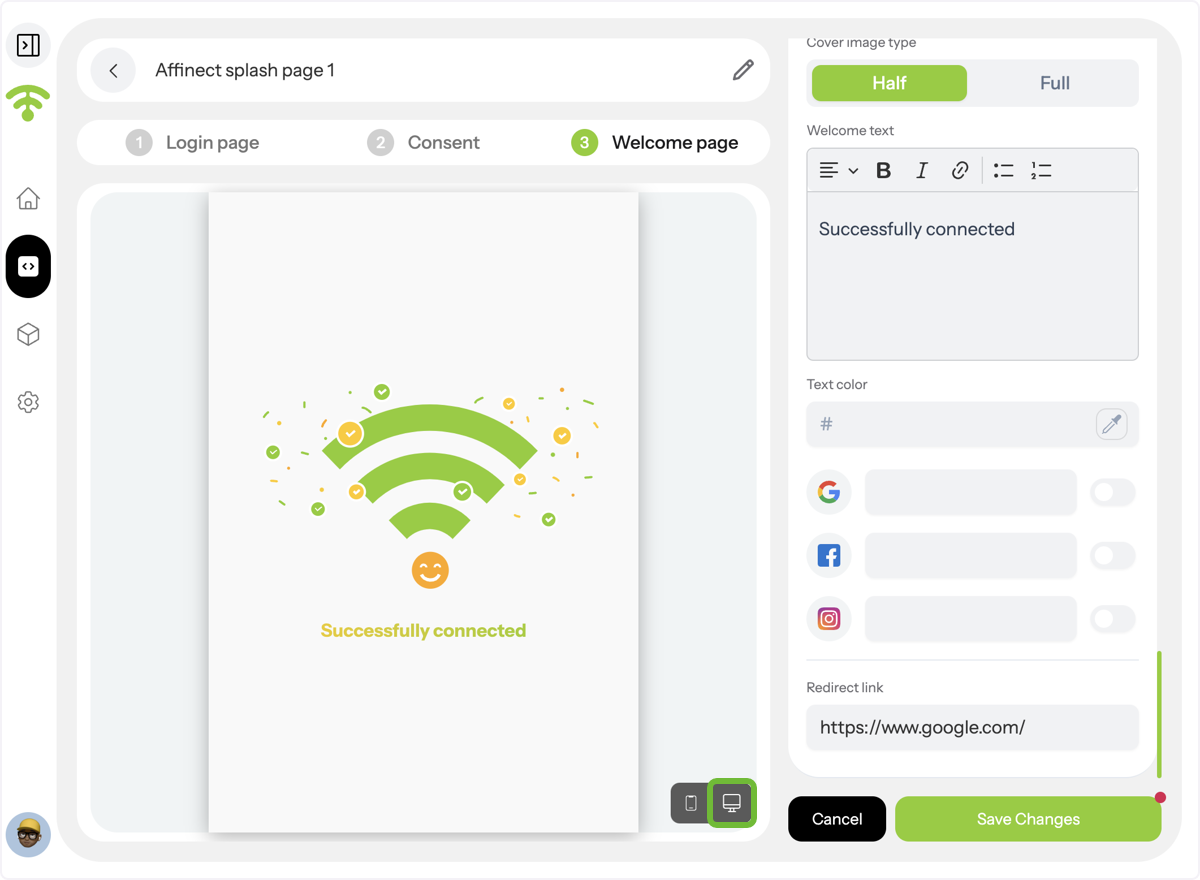
Click on Save Changes.
Do not forget to save the changes once you are done customising the splash page. and TADA! You are good to go. Happy Connecting!